Inventor
|
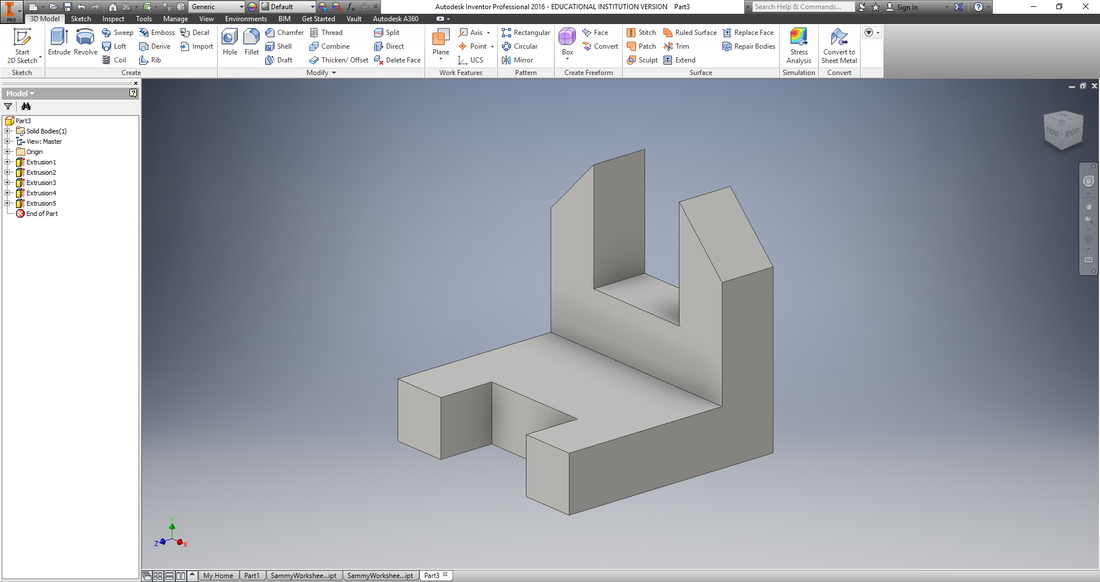
Autodesk Inventor is a computer aided design (CAD) program, which can be used to design various parts. Through the editor, a user can create edit and view virtual 3D models. Users can create and modify two dimensional surfaces with the 'Sketch' tab. They can extrude surfaces to create objects. Using the middle mouse and right click they can orbit and pan to better view of the object. Additionally, the 3D objects created in Inventor can be exported to applications like MakerBot which can then format the files into a 3D printable format.
|
Sketches Of Widgets
Recipe For How To Create Widget 1
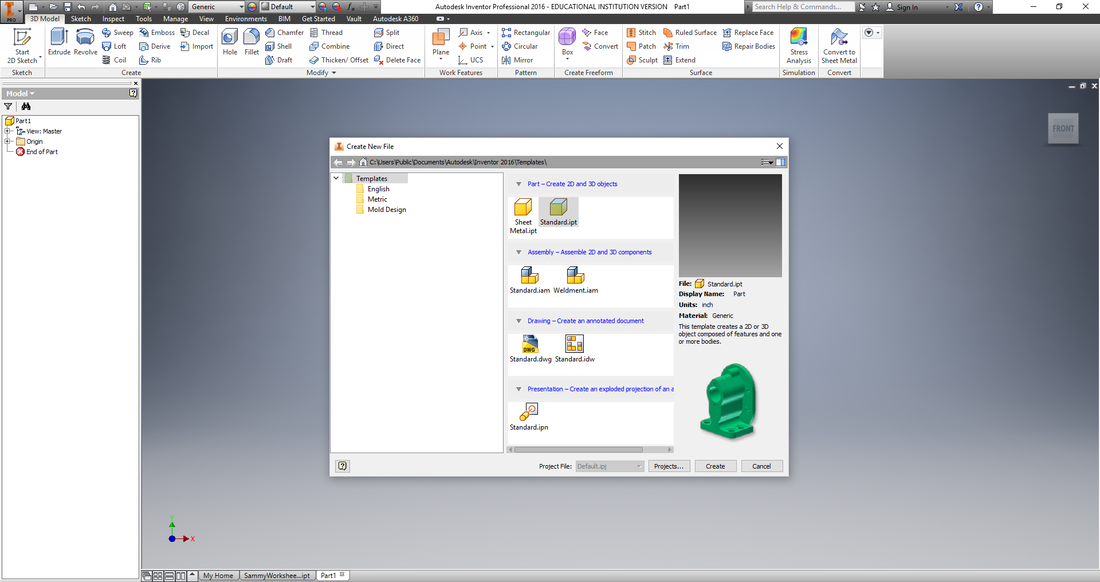
Step 1In the top left corner, click on the Inventor logo. On the tab that opens, click 'New'. On the page that opens (shown to the right), select 'Standard.ipt' then 'Create'.
|
|
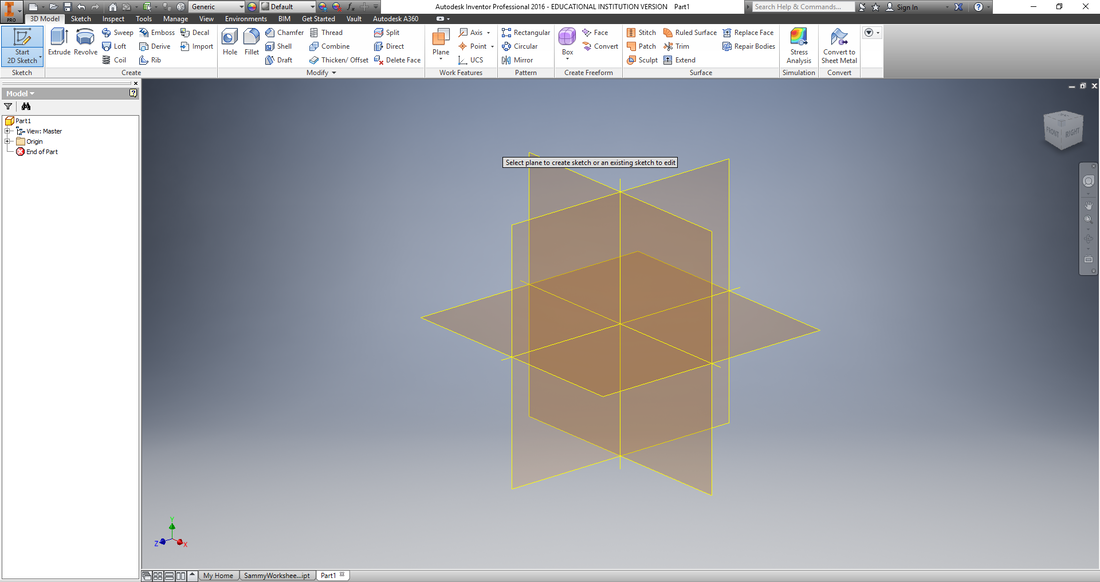
Step 2In the top left corner, click on the 'Start 2D Sketch' button. Three intersecting planes should appear as a result (shown to the right). The two axis that intersect on each plane should appear in white on the side of the plane when the cursor is hovered over it. Click on the YZ Plane.
|
|
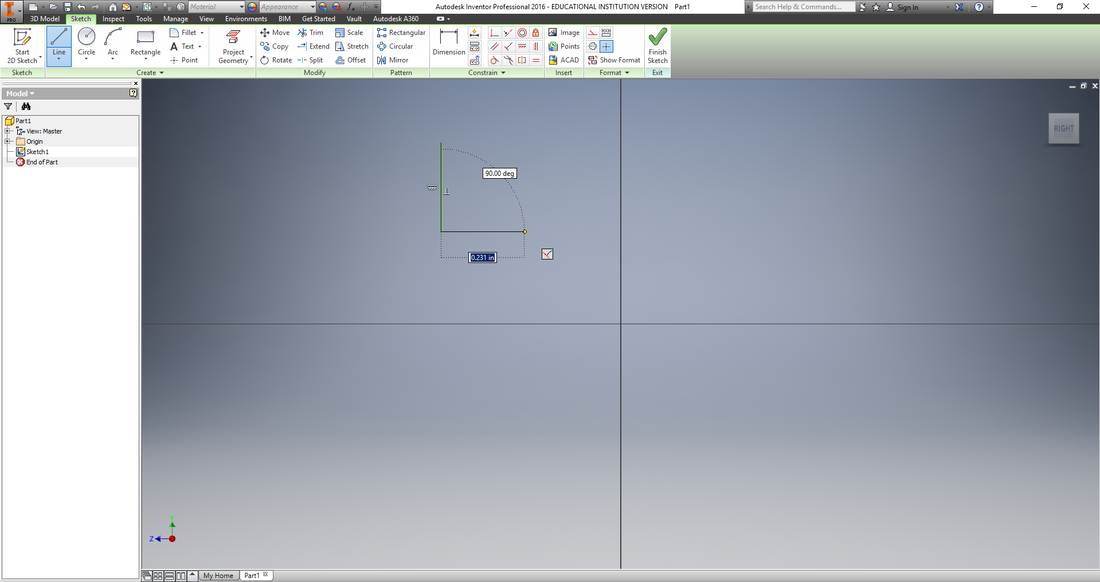
Step 3In the top left of the screen just to the right of the 'Start 2D Sketch' button, click on the 'Line' button to select the line tool. Hover the cursor over the at roughly the point 0.5, 0.5 and click. A point should be selected with a potential line segment extending from the point just selected to the cursor (shown to the right).
|
|
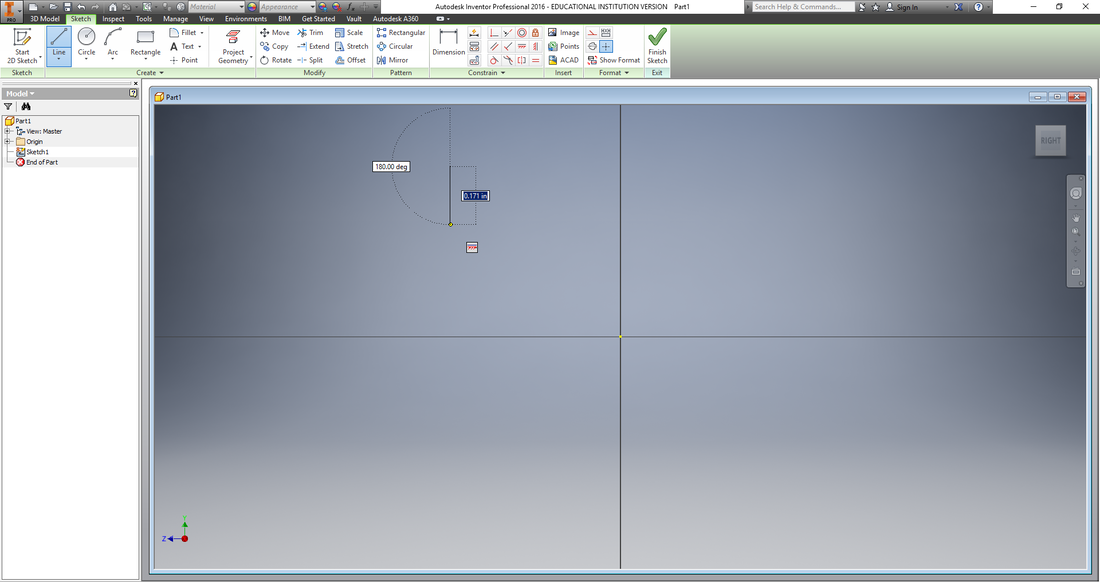
Step 4Move the cursor down approximately 0.25 (these distances don't need to be exact because step _ is about correcting them and making them precise) making sure angle is exactly 180 degrees, and click. The first line segment should appear with another potential line segment extending from the point just selected to the cursor (shown to the right).
|
|
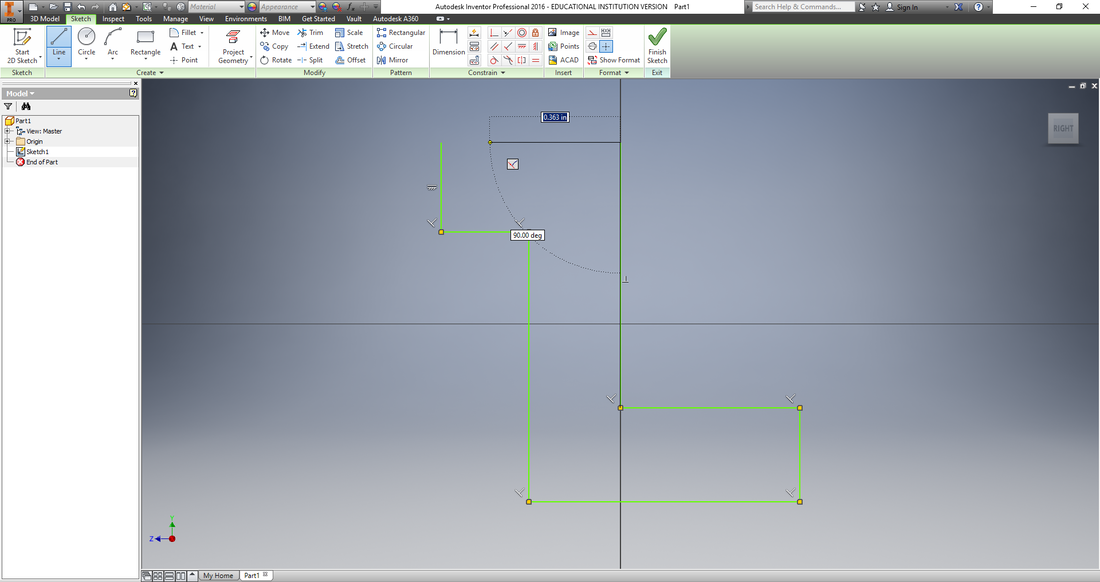
Step 5Repeat step 4 clicking the following points: 0.25 to the right, 0.75 down, 0.75 to the right, 0.25 up, 0.5 to the left, 0.75 up. When making the point 0.75 up, the height of that point should be exactly the same as the height of the first point from step three (snapping will make this easy). All lines should intersect at 90 degree or 180 degree angles (shown to the right).
|
|
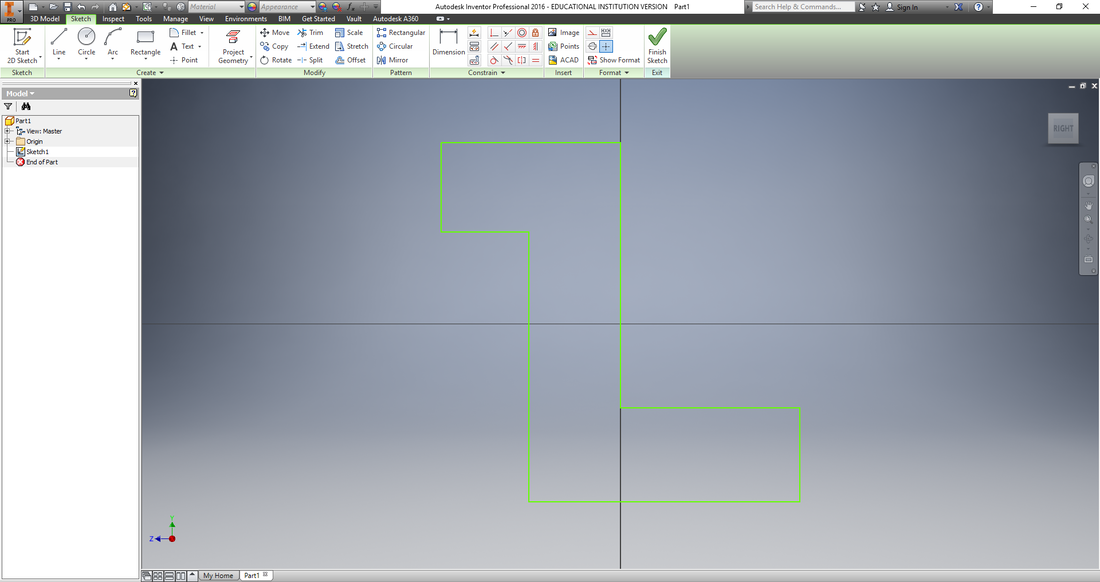
Step 6Click on the original point from step 3, and hit the escape key to finish with the line tool. The rough outline for the side of the shape should appear (shown to the right).
|
|
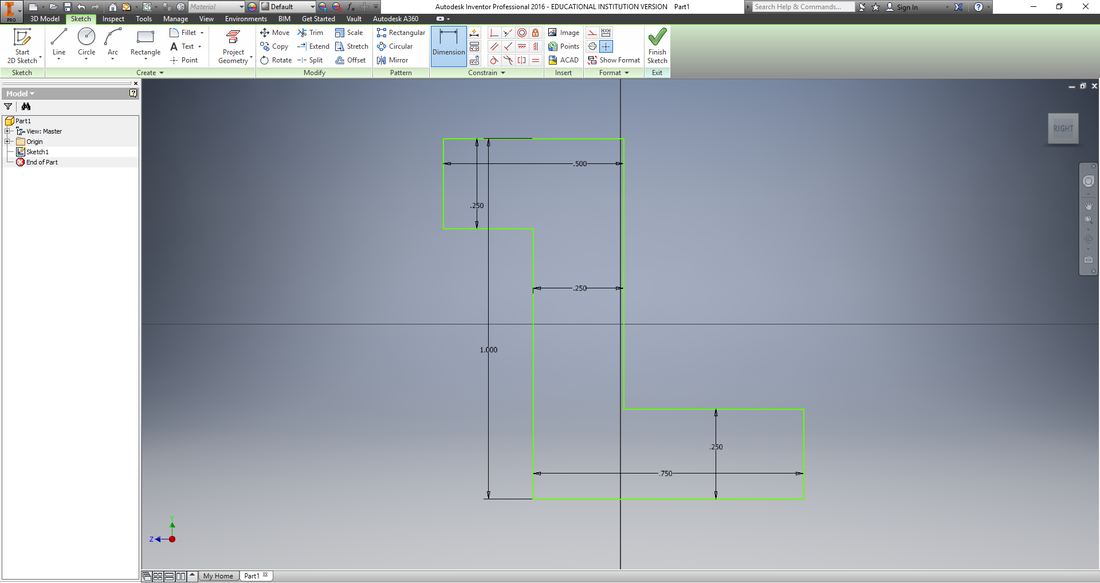
Step 7Right click with the mouse and select 'General Dimension' from the options that appear. For every set of parallel lines, click on one line, then the other, then a point between, then type in what the exact dimension should be based on the rough distances from steps 4 and 5. (Rounding to the nearest multiple 0.25 usually works, but make sure if the proper distance is unclear) Lines labeling each dimension should appear (shown to the right). Press the escape key upon completion.
|
|
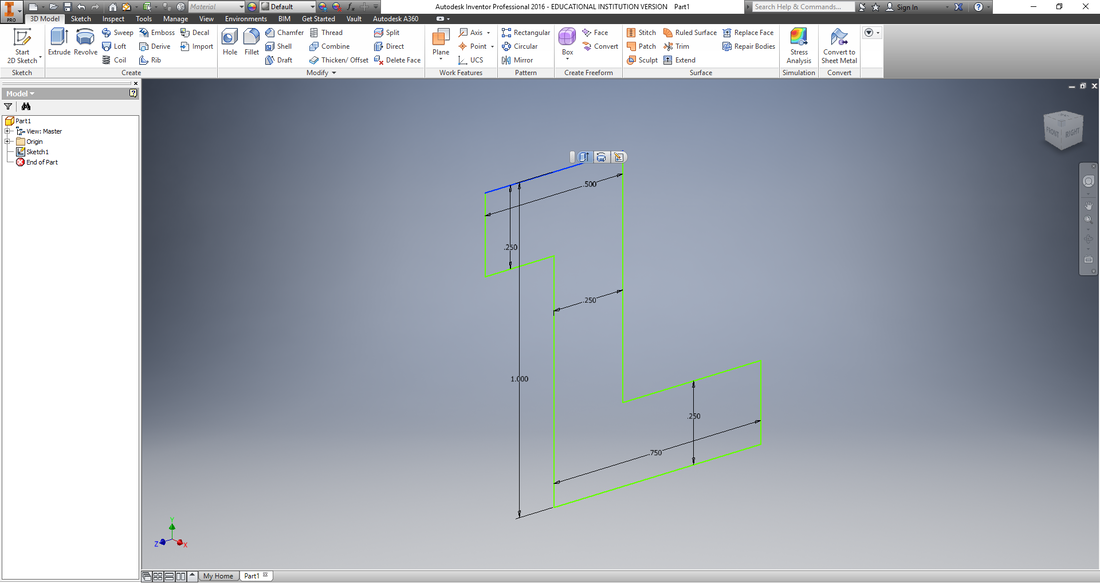
Step 8Click on the 'Finish Sketch' button on the left of the toolbar towards the top of the application. Click on a line from the sketch. Three tools should appear by the cursor (shown to the right). Click on the 'Create Extrude' button, which should be the button furthest to the left of the three that just appeared.
|
|
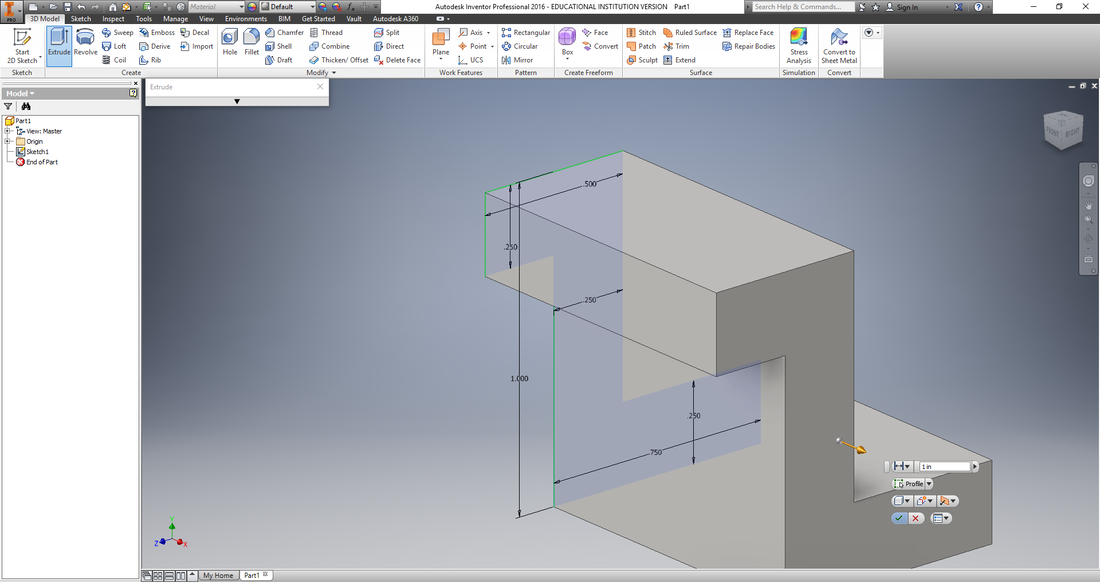
Step 9The potential extrusion should become visible (shown to the right). By the orange arrow on the newly extruded face, there should be a menu with a green check button on the bottom left. Click on the green button.
|
|
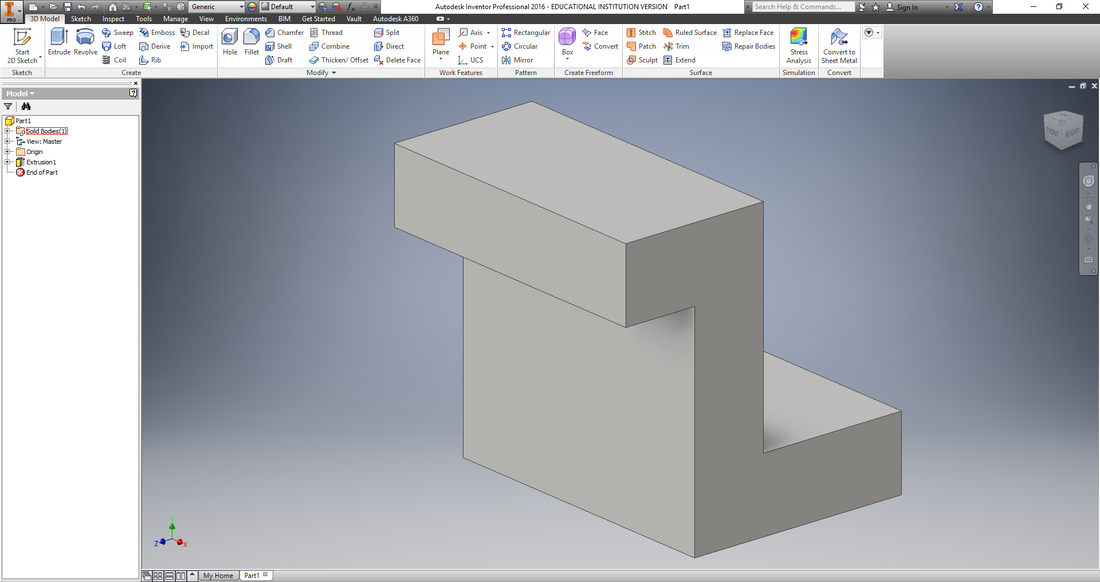
Step 10The widget is now complete. The final result is shown to the right.
|
|
Screenshots Of Other Widgets
Widget 2 |
Widget 3 |
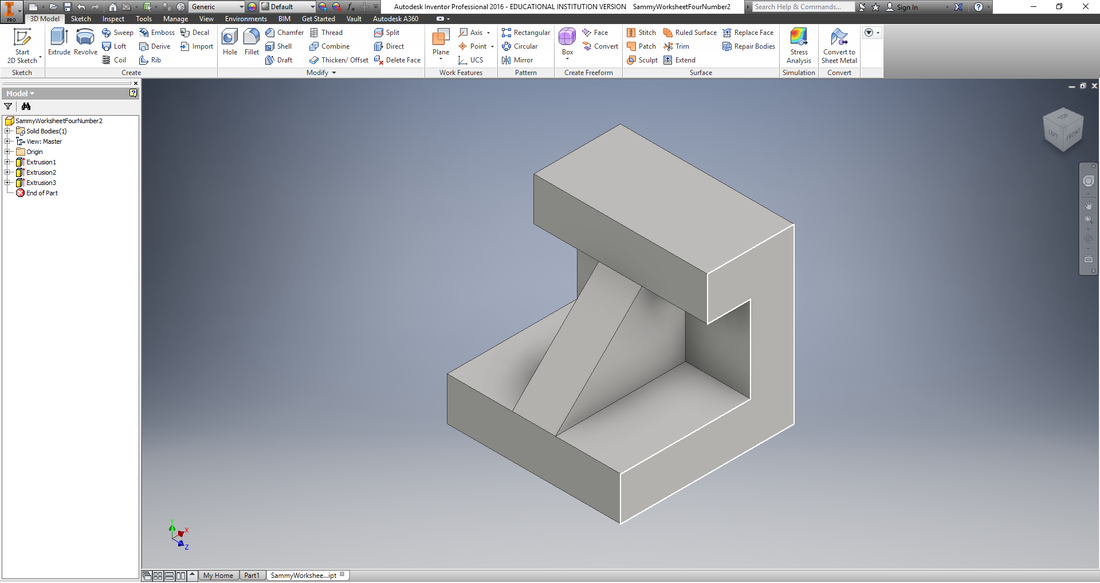
Widget 4 |
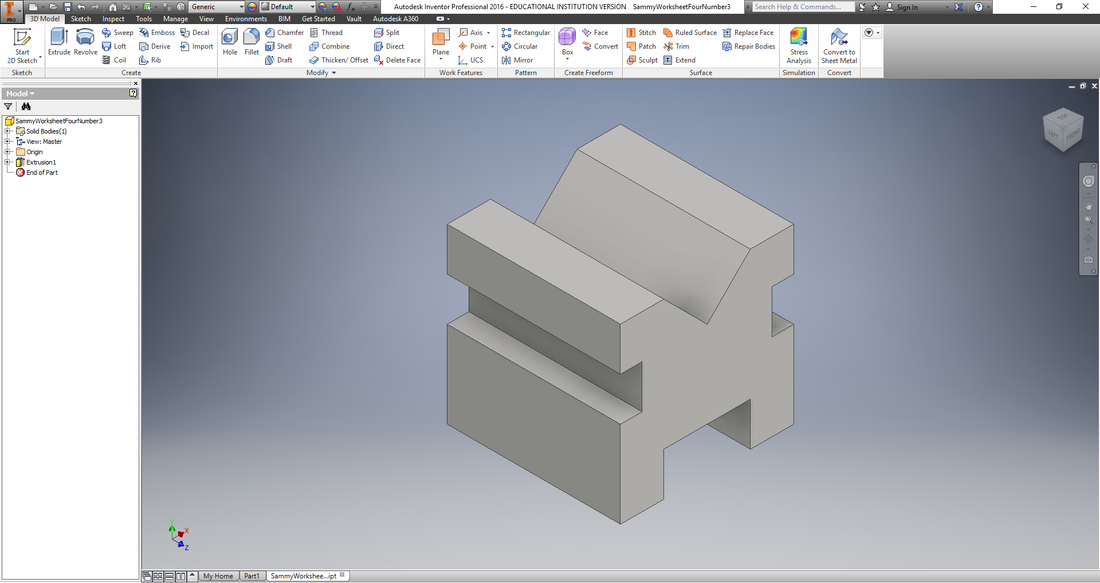
Widget 5 |
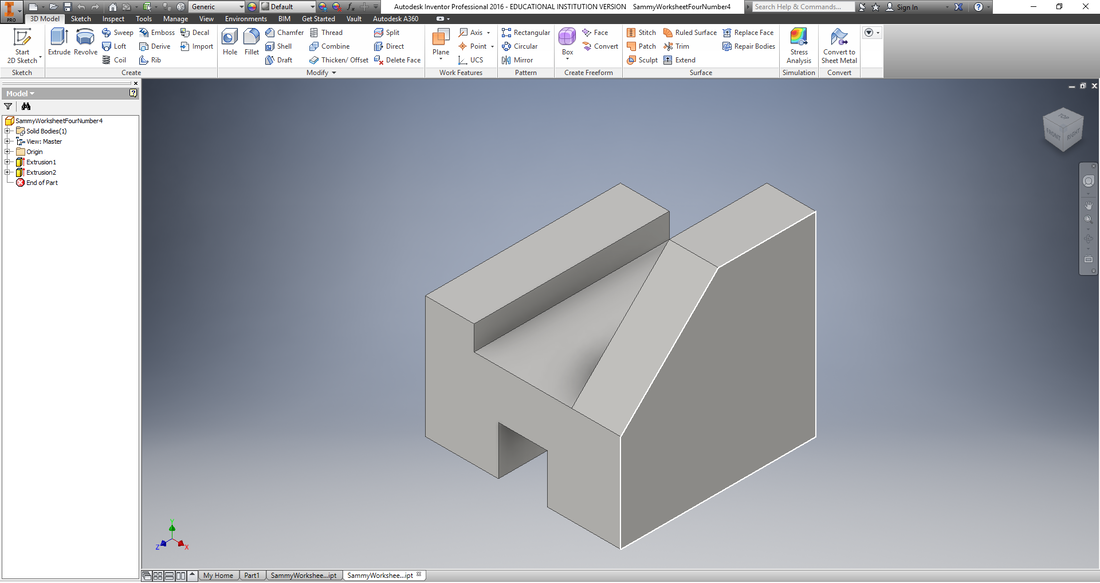
Widget 6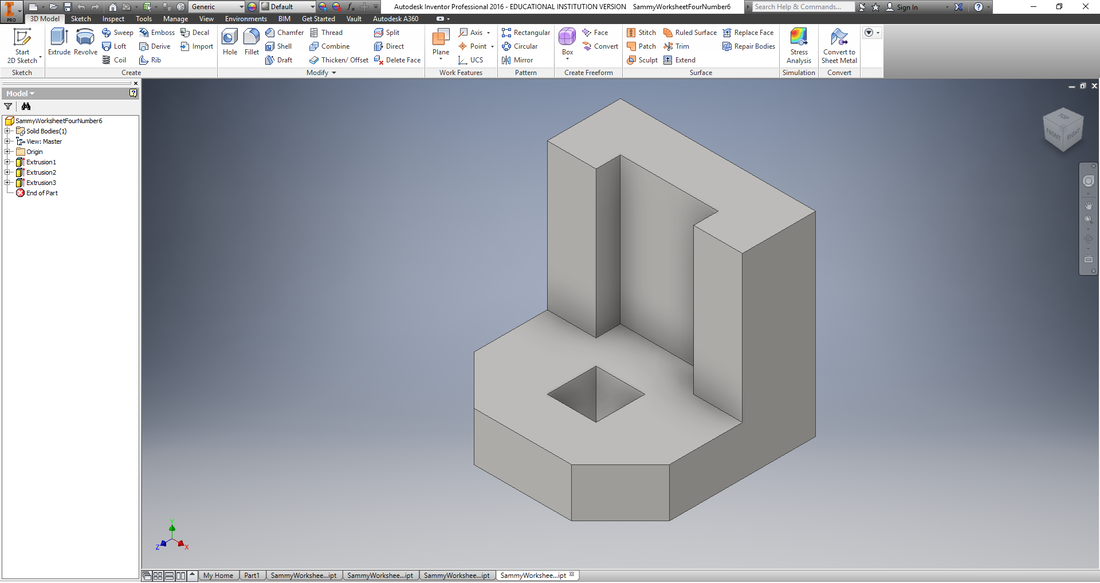
|
|
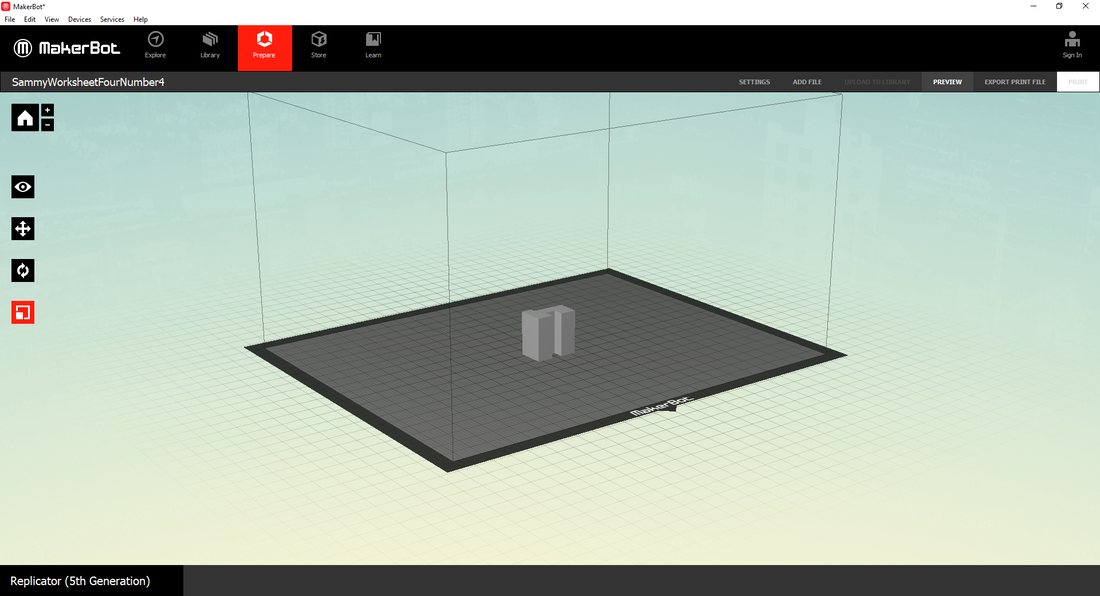
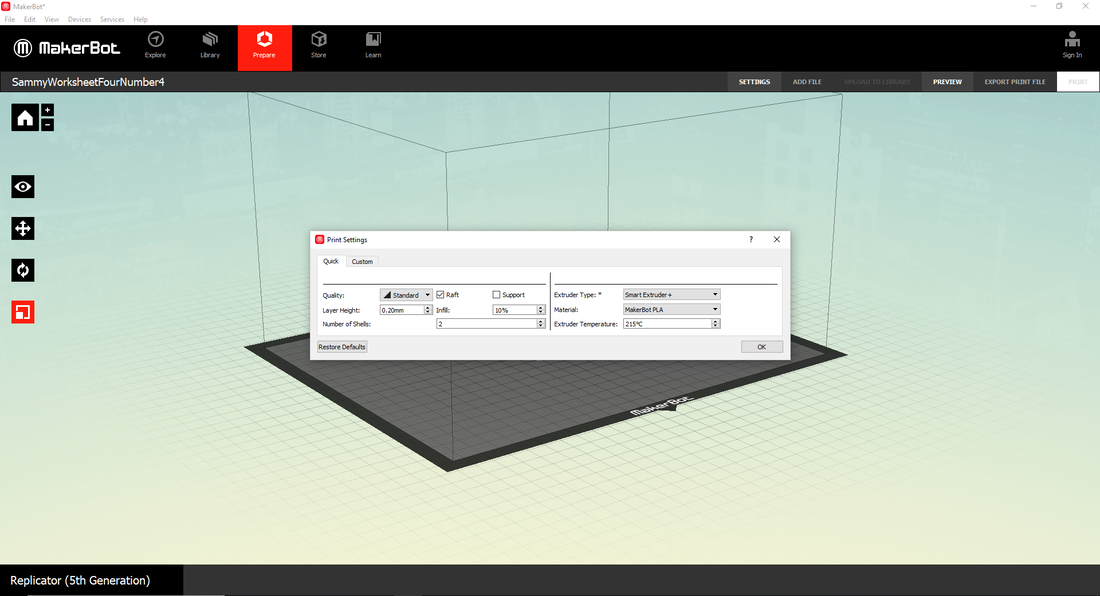
Screenshots From Setting Up The Print Using MakerBot Desktop
|
|
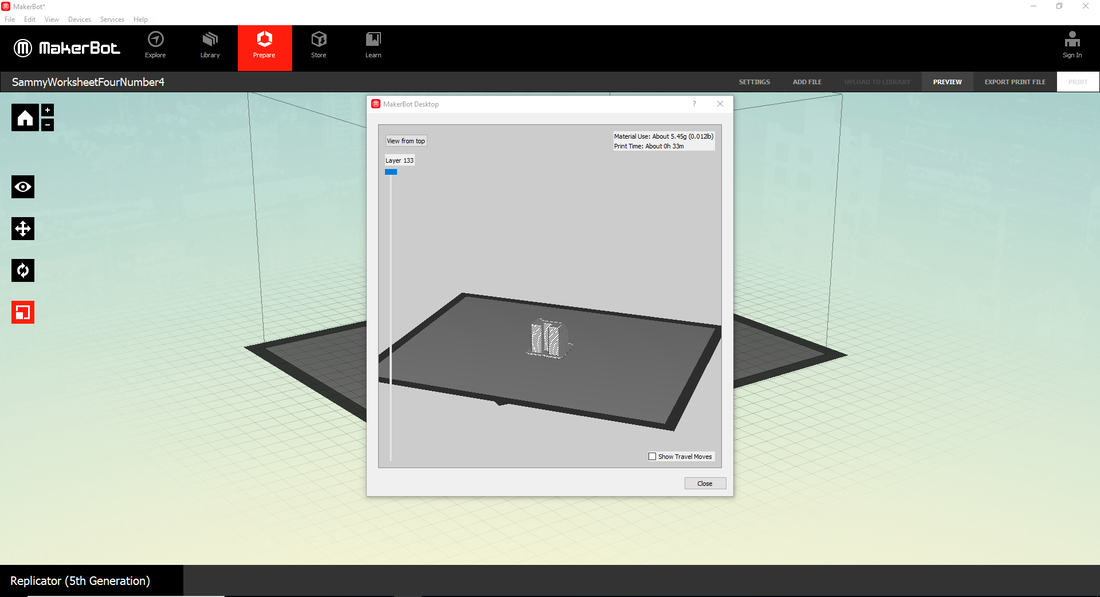
Screenshot Of The MakerBot Preview Screen
|
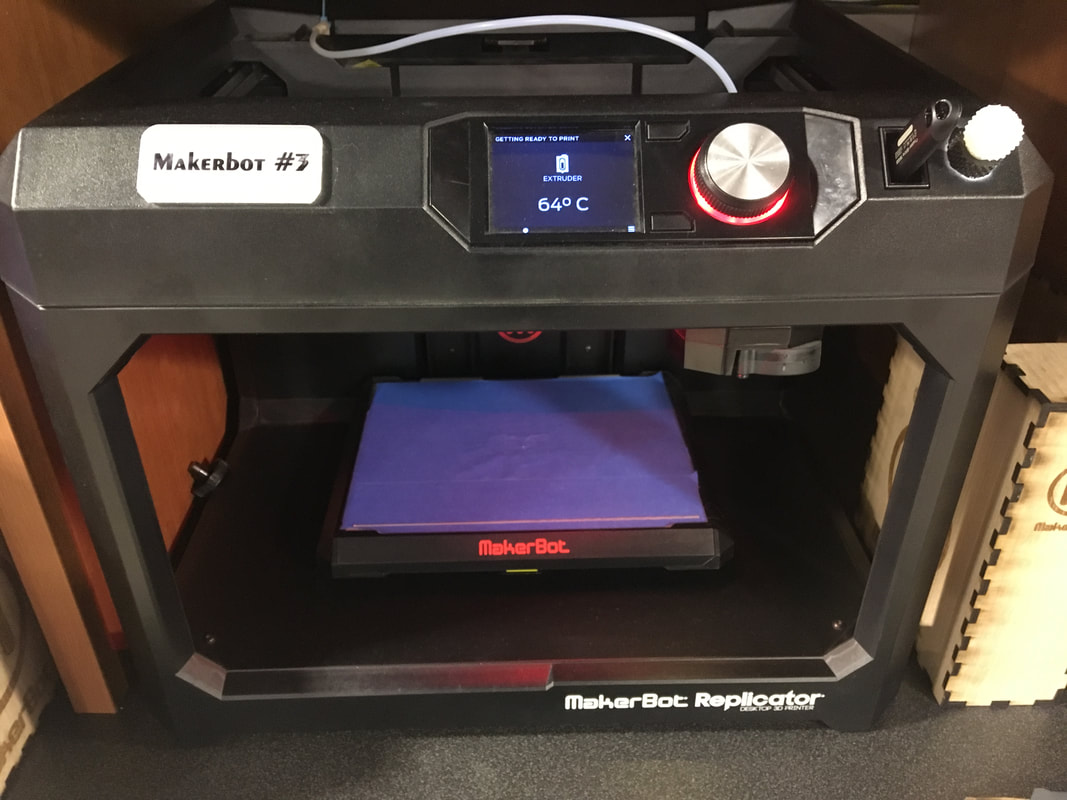
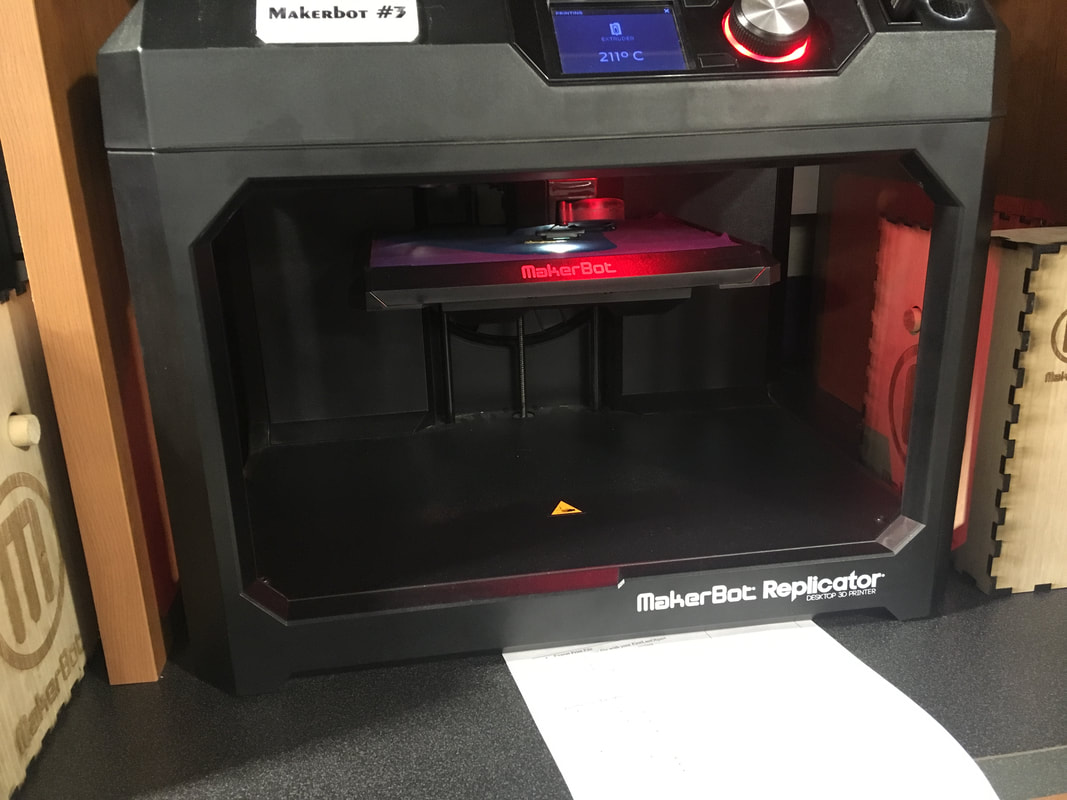
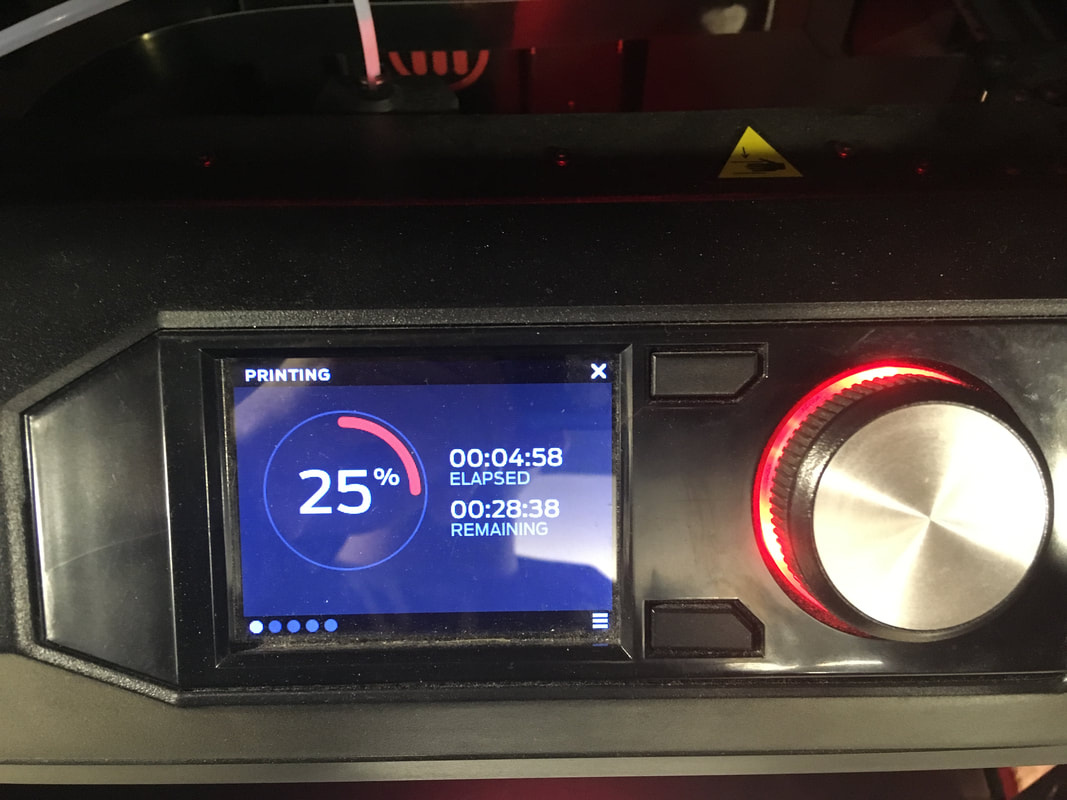
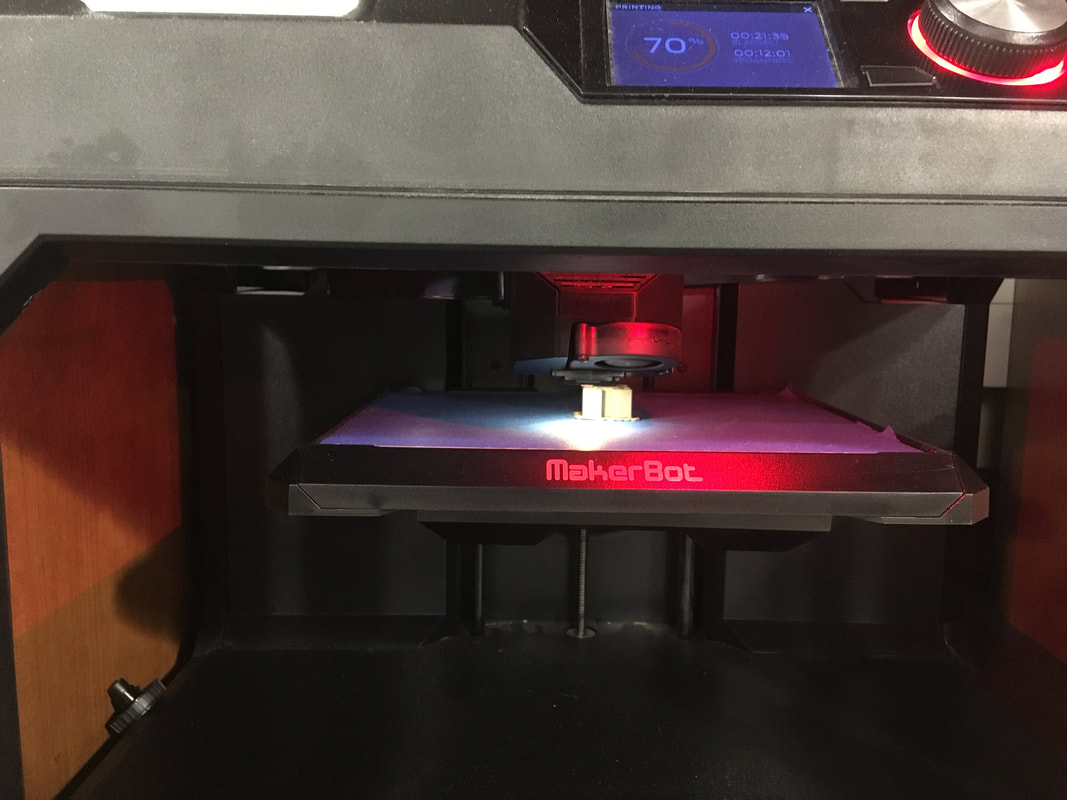
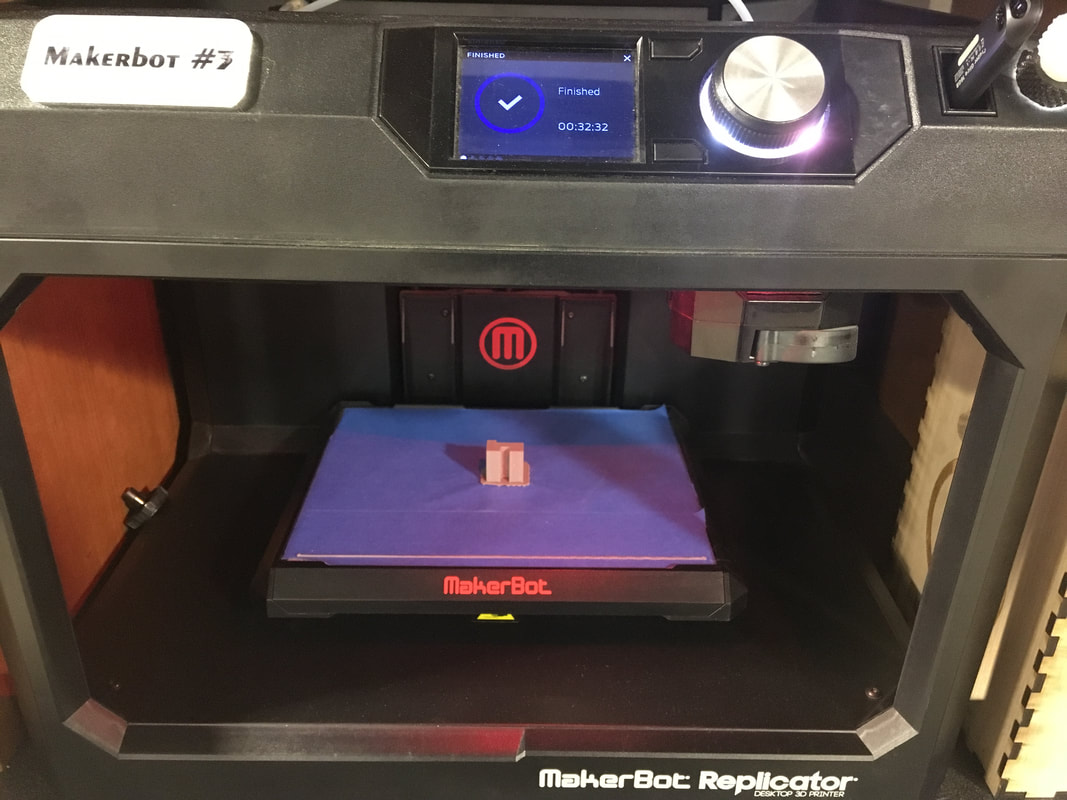
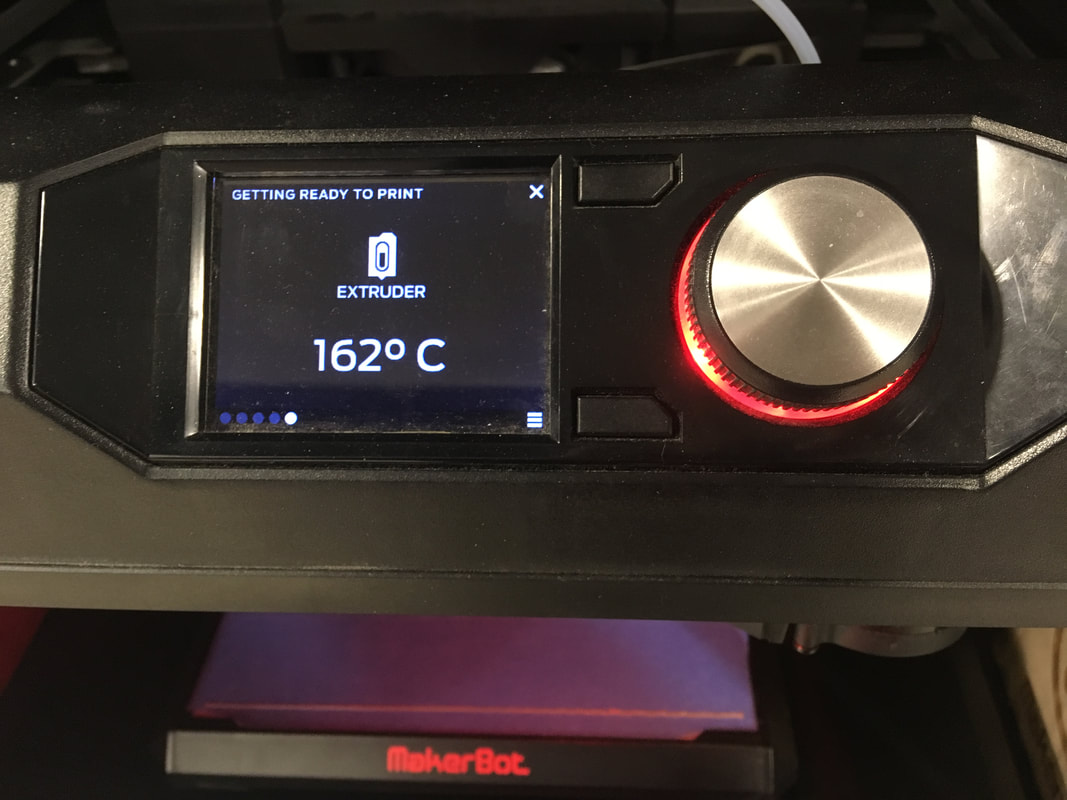
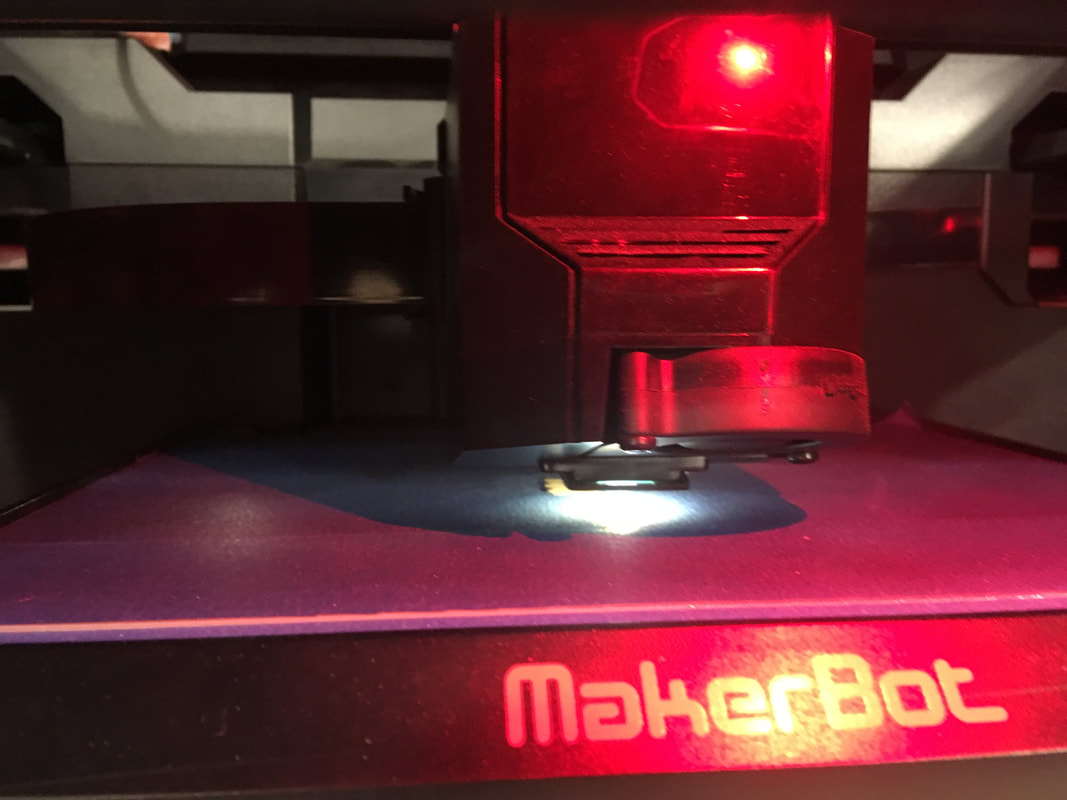
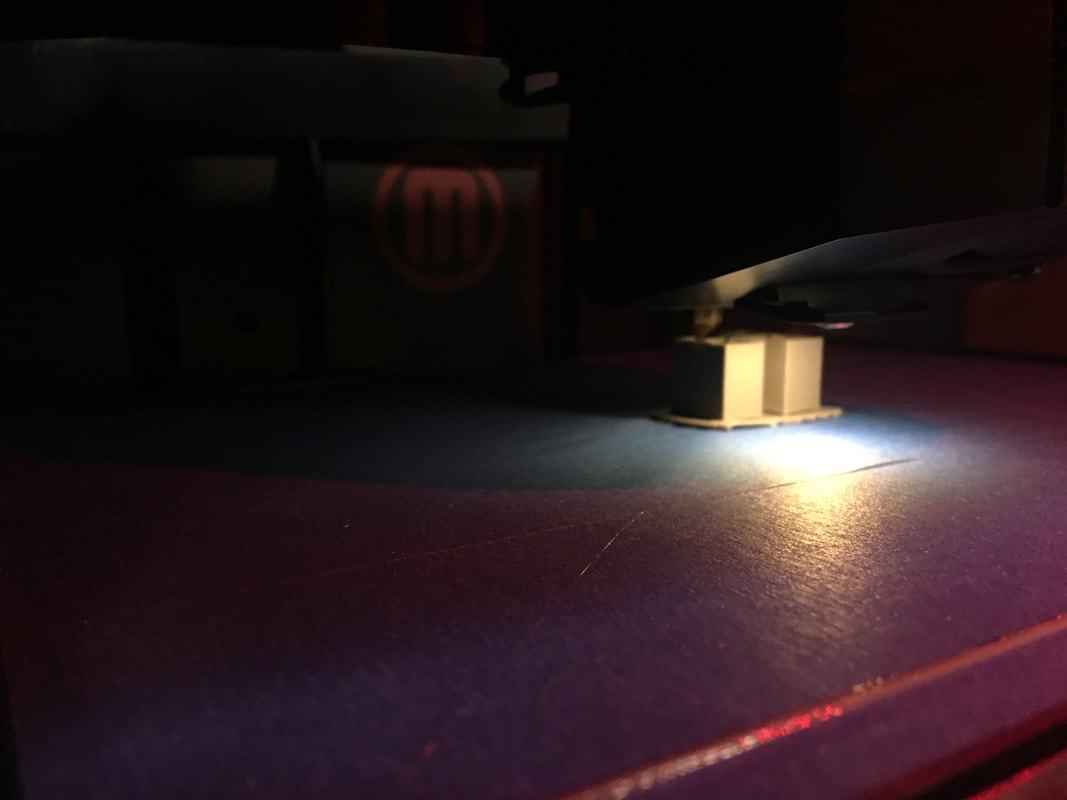
Pictures Of Widget 4 Printing
|

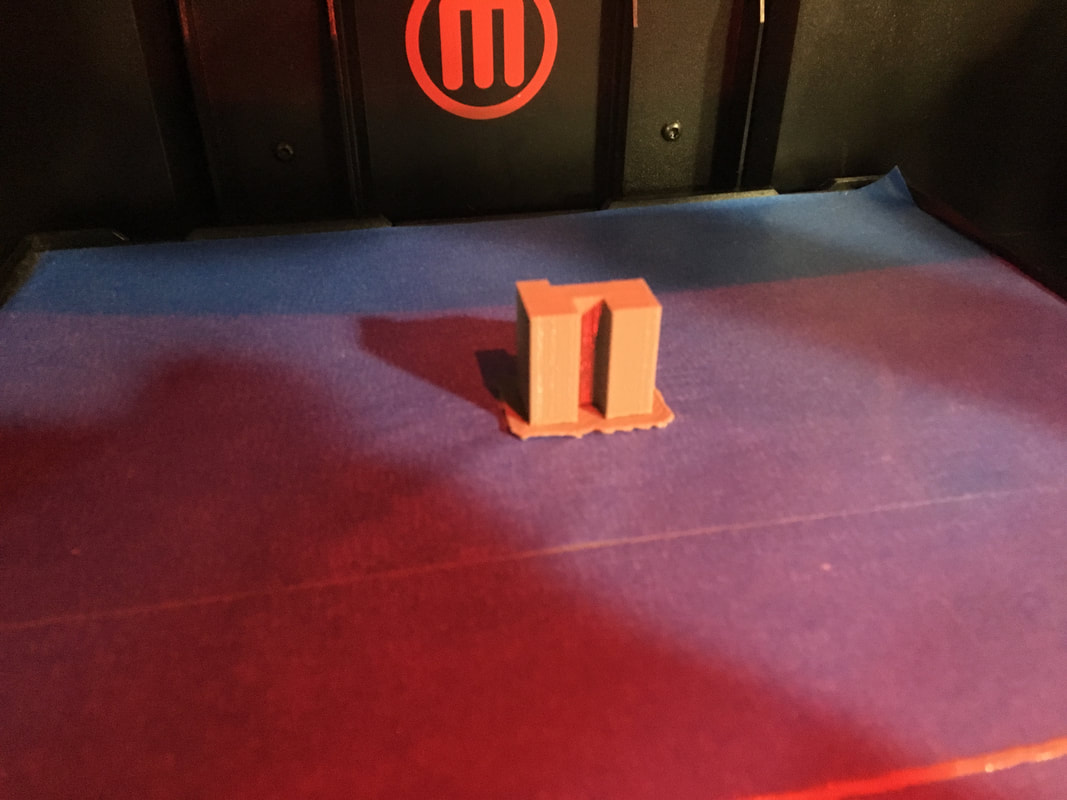
|
Pictures Of Widget 4 Printed Out
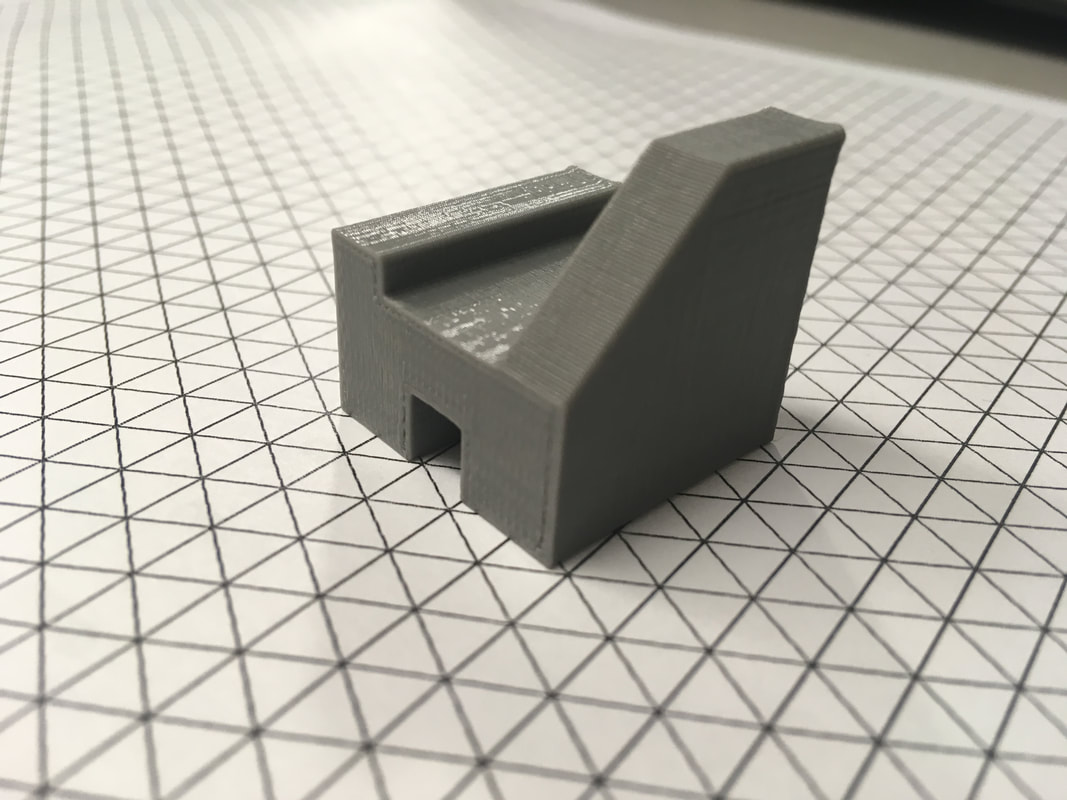
|

|
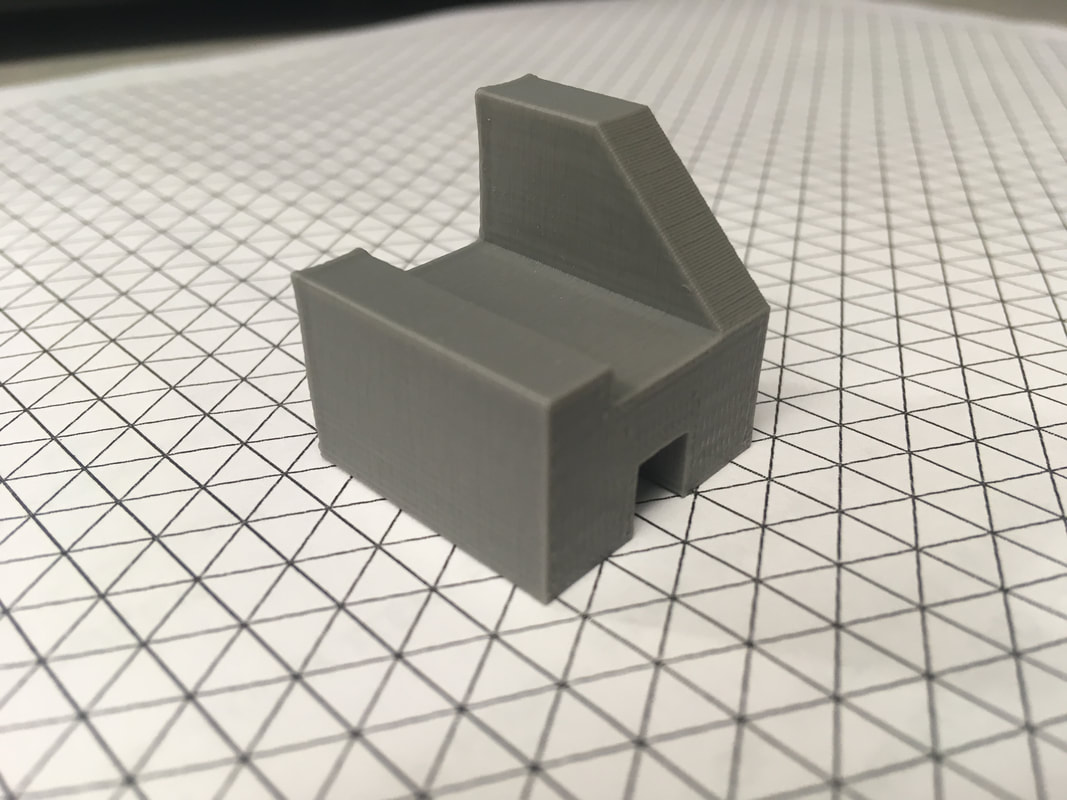
|
Summary Paragraph Of What I Learned In This Introduction To Inventor/3D
Printing
|
While this was not my first time using 3D modeling software or 3D printing, it was my first time using Autodesk Inventor and I think I am now much more comfortable with the software. Inventor is relatively intuitive, but I have still improved immensely since the beginning of this project. I have developed a deeper understanding of the relationship between 2D sketches and three dimensional objects. I also learned about the way objects must be oriented and scaled to be 3D printable so they have structural integrity as they print. Overall, I now feel much more comfortable with CAD software and 3D printing.
|
