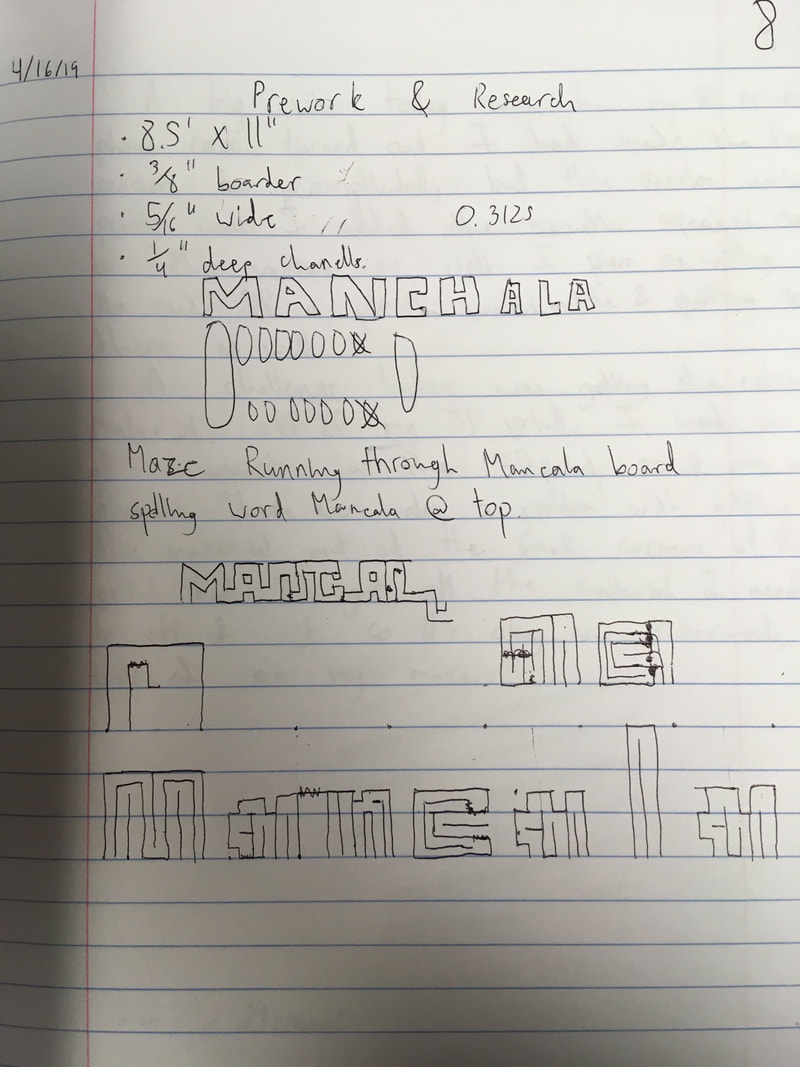
Inception Of Design In Designer Notebook
I initially wanted to make a maze around a manchala board, but that wouldn't fit in the space, so I kept the letters and wrote the word maze.
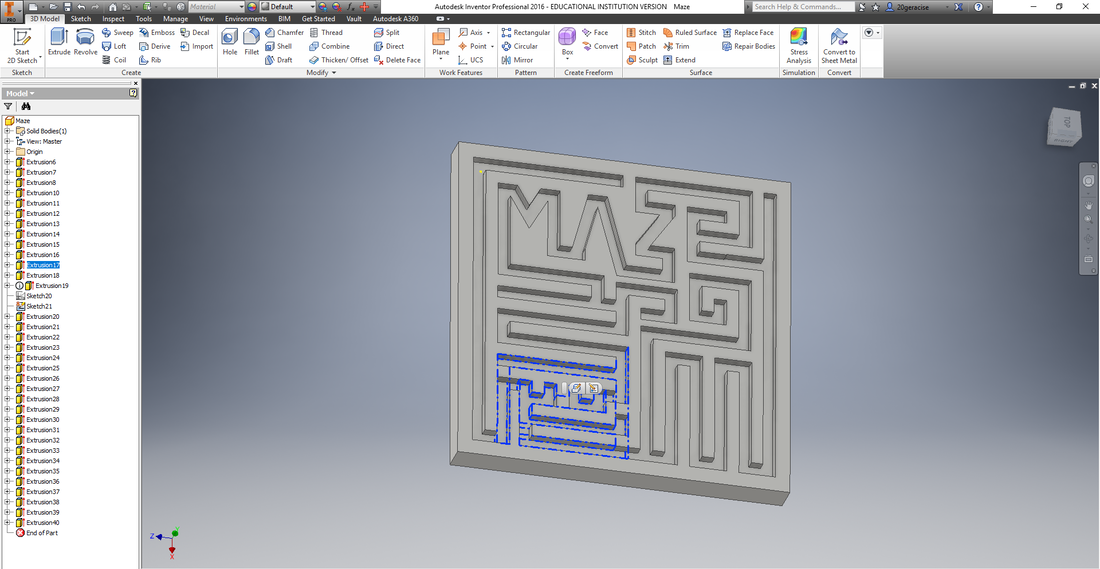
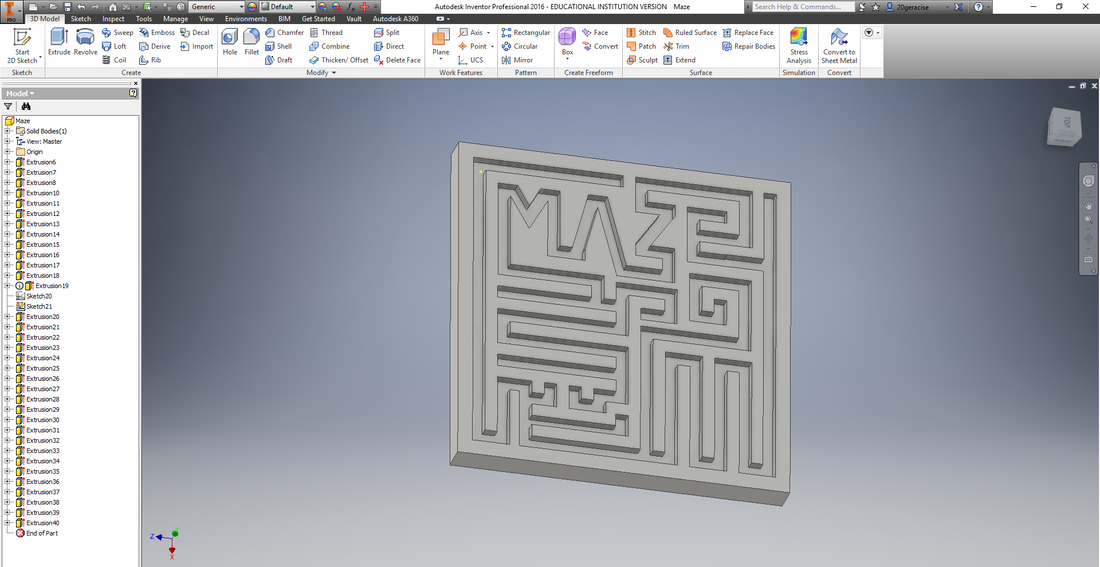
Recipe For How I Created The Maze In Inventor
I began with an 8.5 inch by 8.5 inch square, which I extruded up. Then, I created a sketch on the top face of the extruded square. In the sketch, I created rough outlines of the letters "M", "A", "Z", and "E" using the dimension tool to ensure that the top and left side of the letters are thee eighths of an inch and the channels are one quarter inch wide. Then I continued connecting the channel and adding segments of maze. One segment is highlighted in the pictures below to demonstrate their typical size. The final icing on the cake for the design was creating adding walls by extruding 0.25 inch by 0.25 inch squares up and down to get a usable maze.
|
|
Screenshots Of Digital Inventor/Fusion 360 Documents

|
|
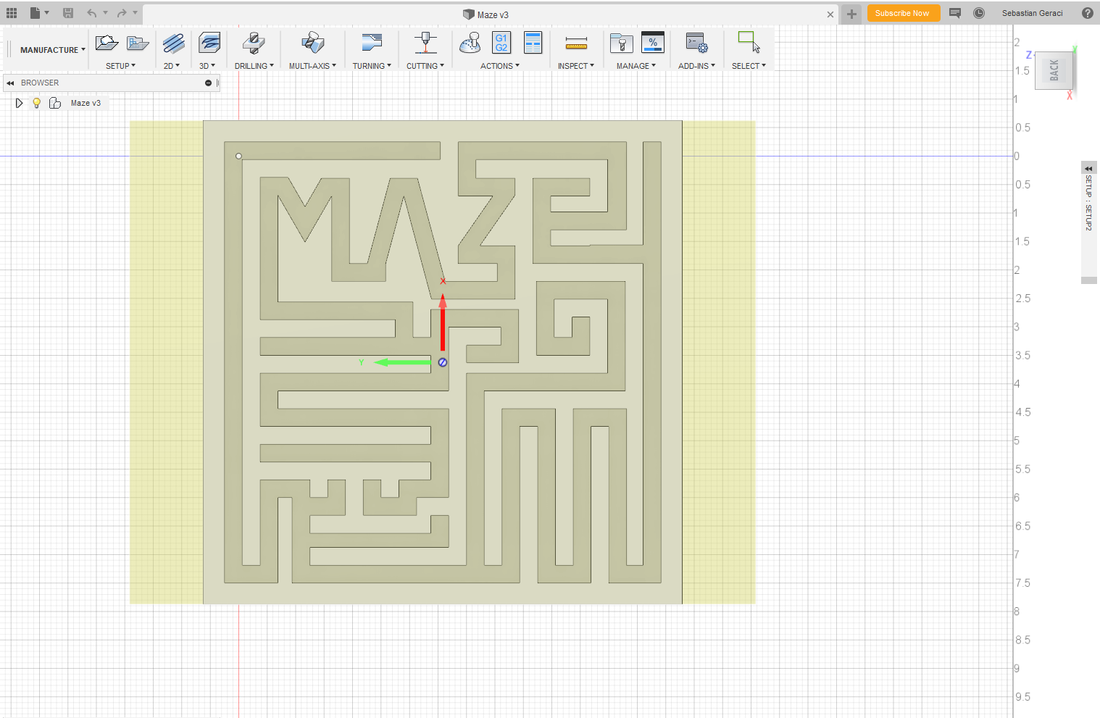
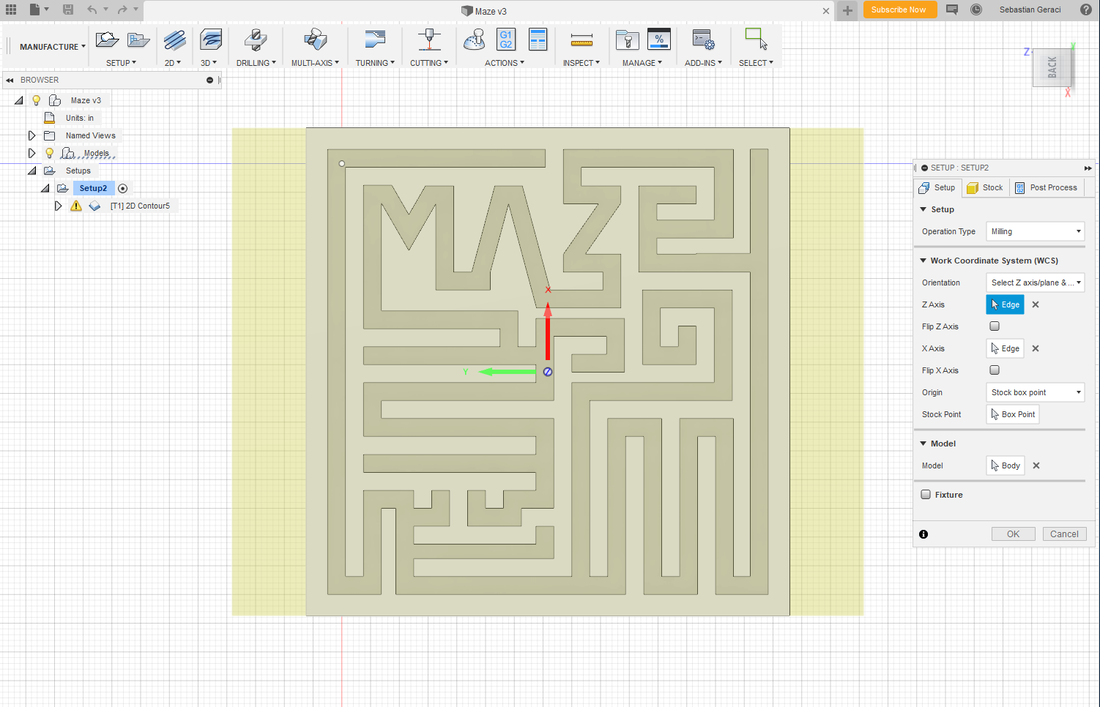
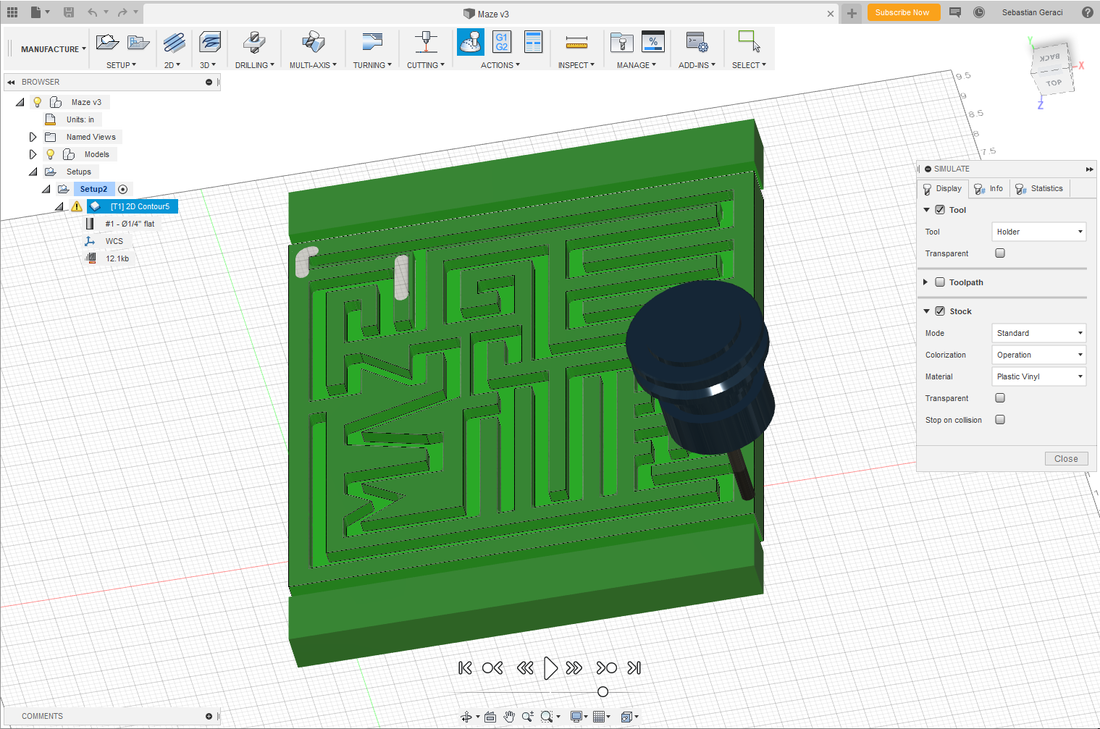
Screenshots of Setting Up Tool Paths In Fusion 360
|
|
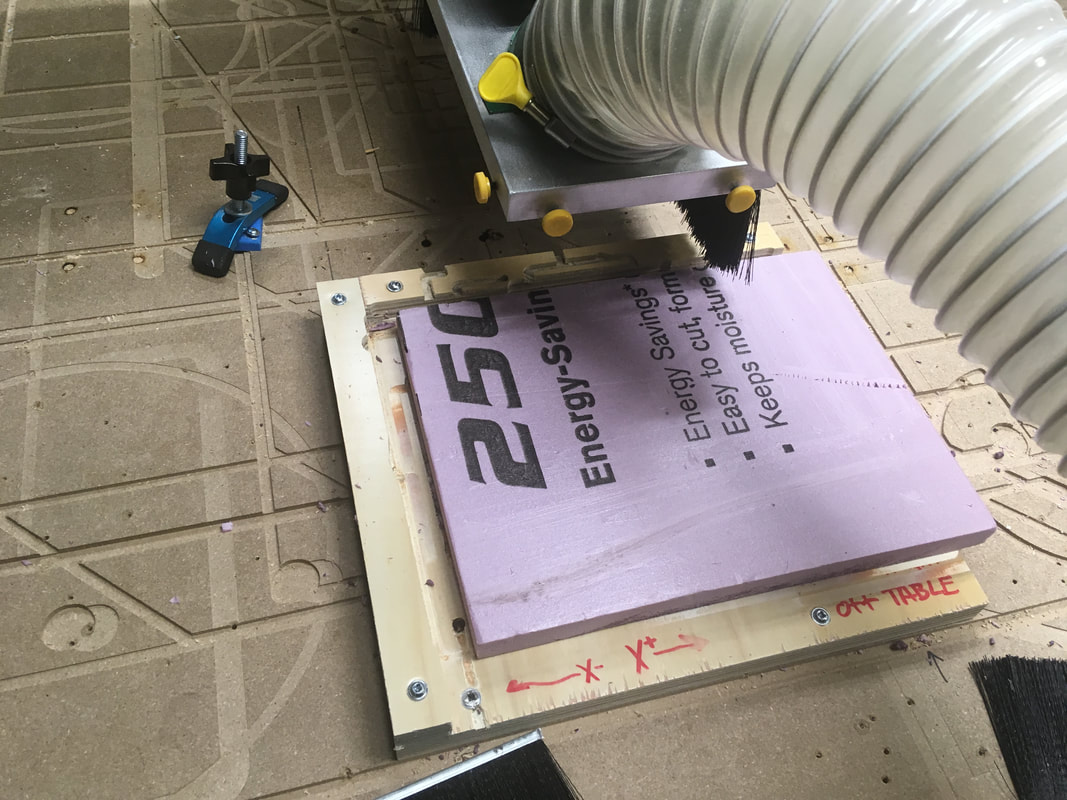
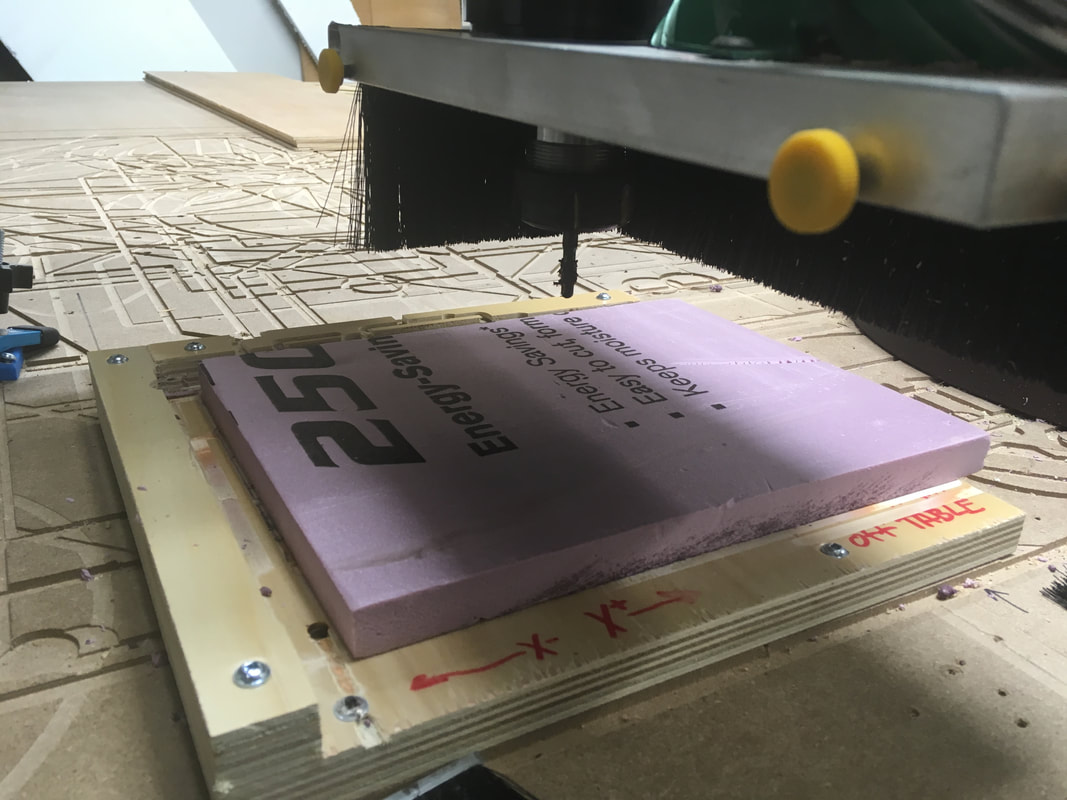
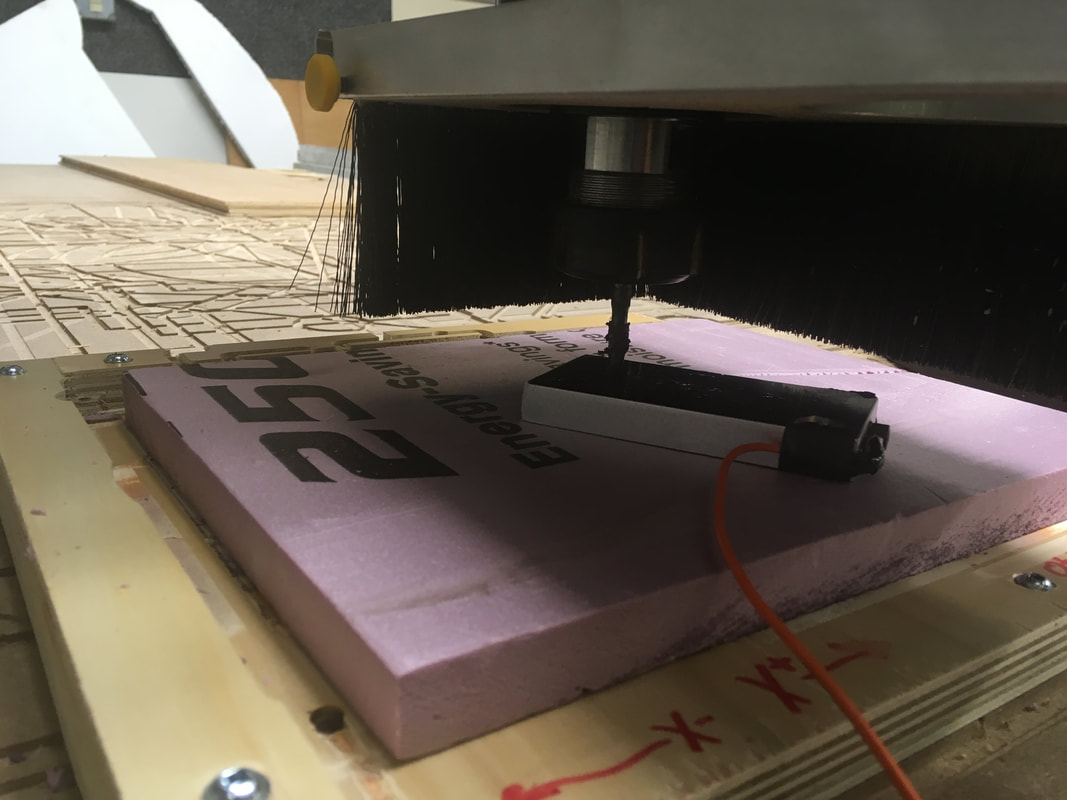
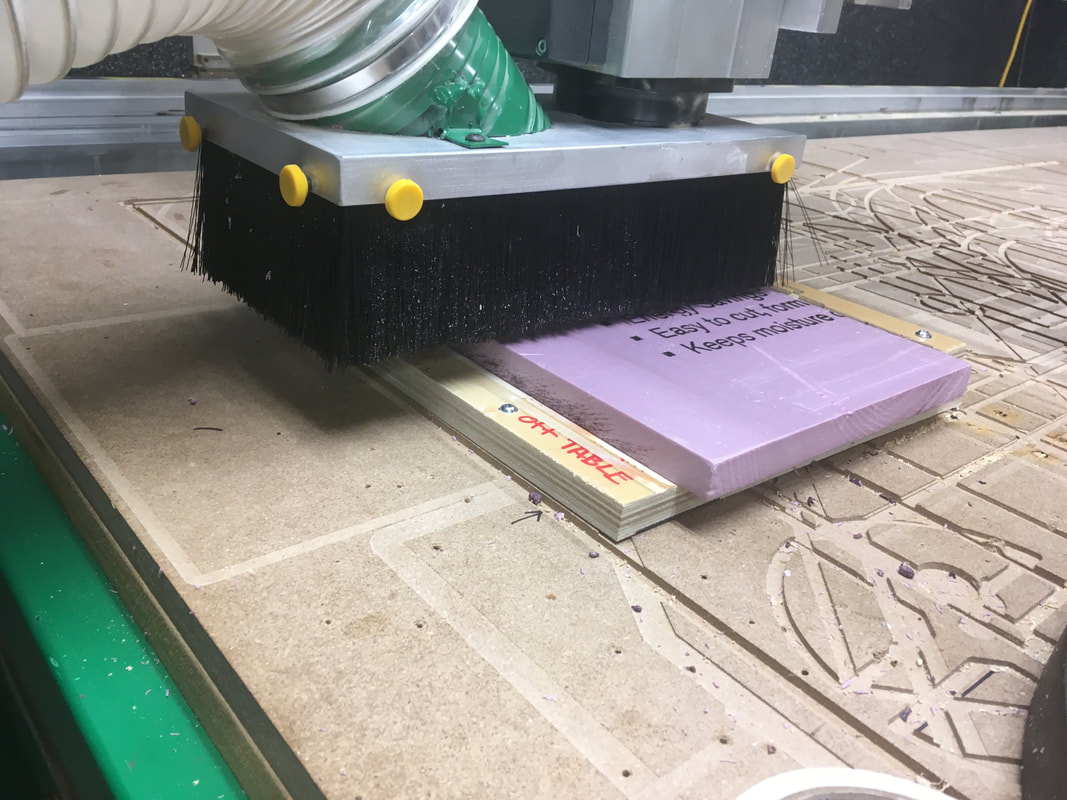
Photos Of Me Setting Up Using The Router
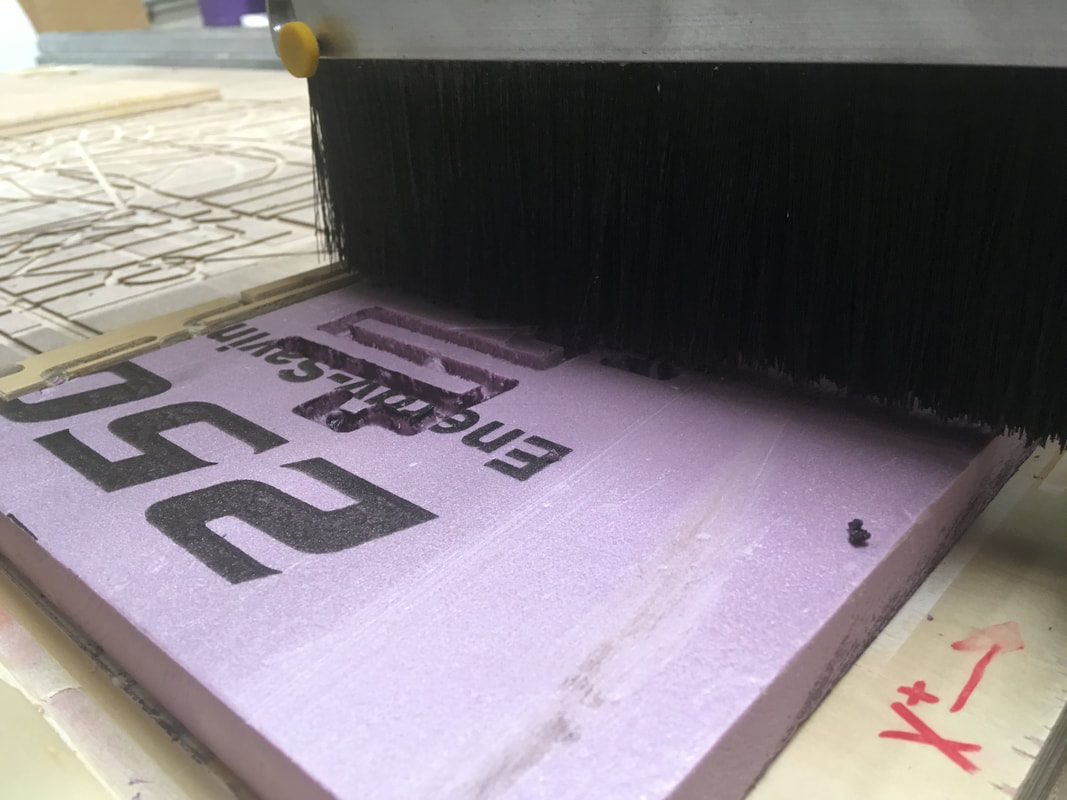
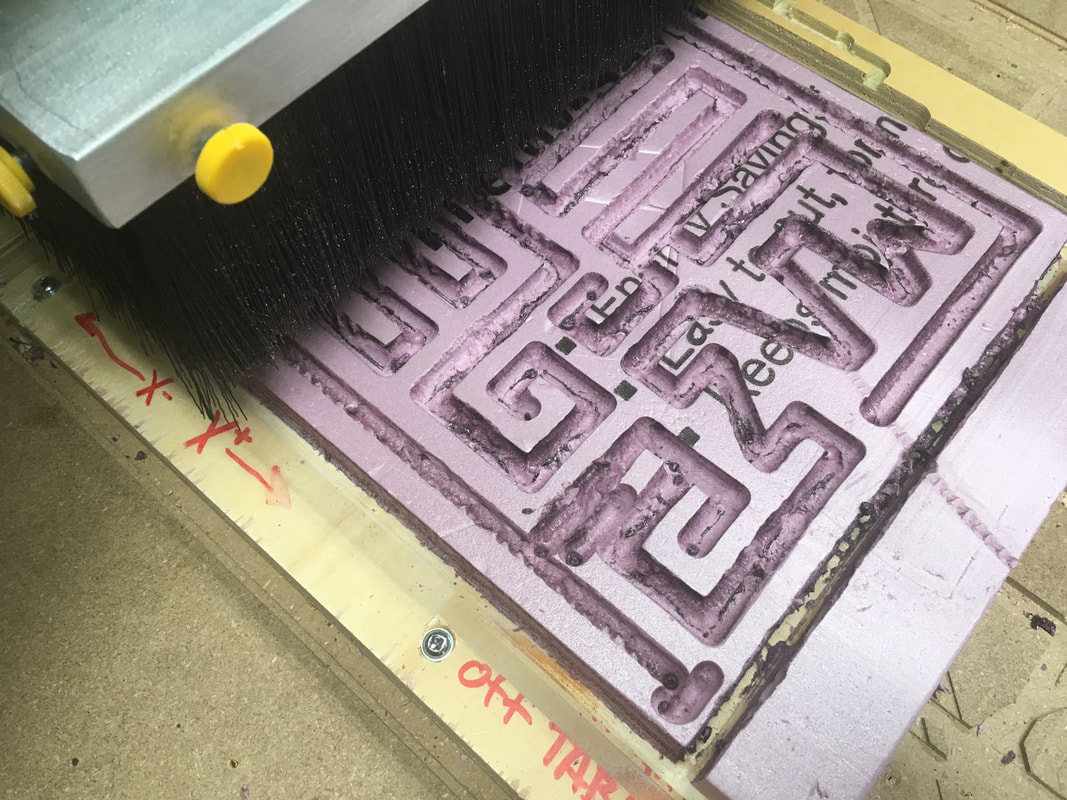
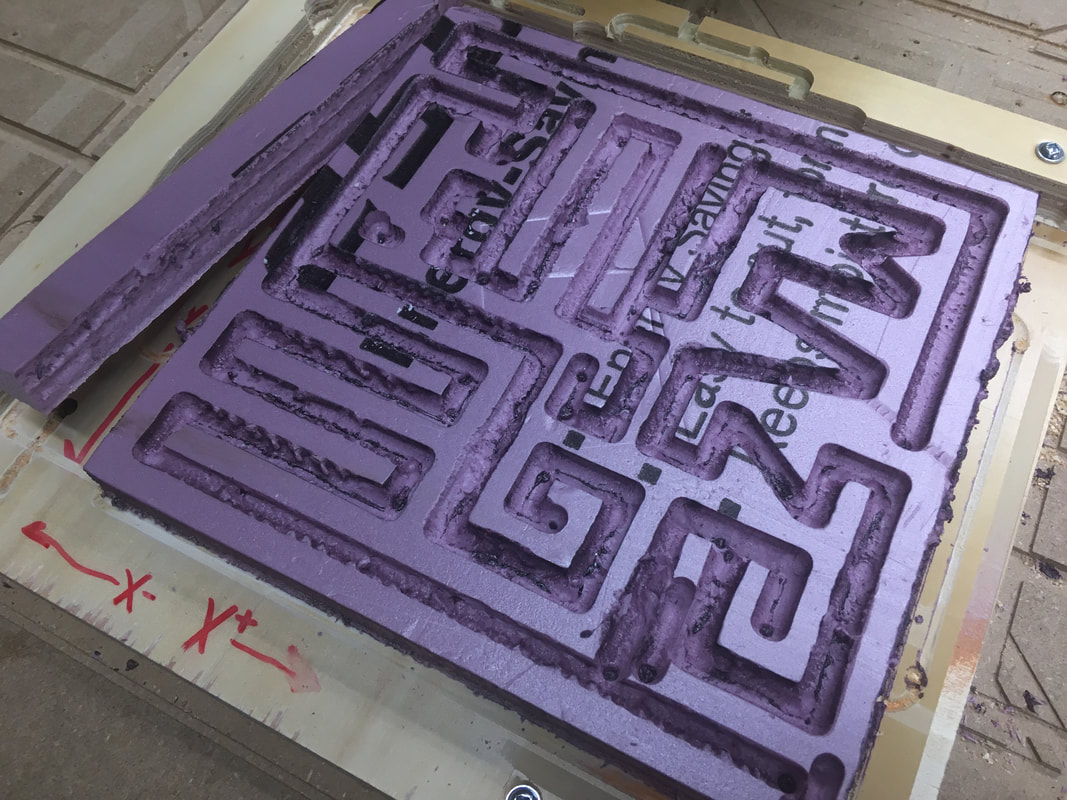
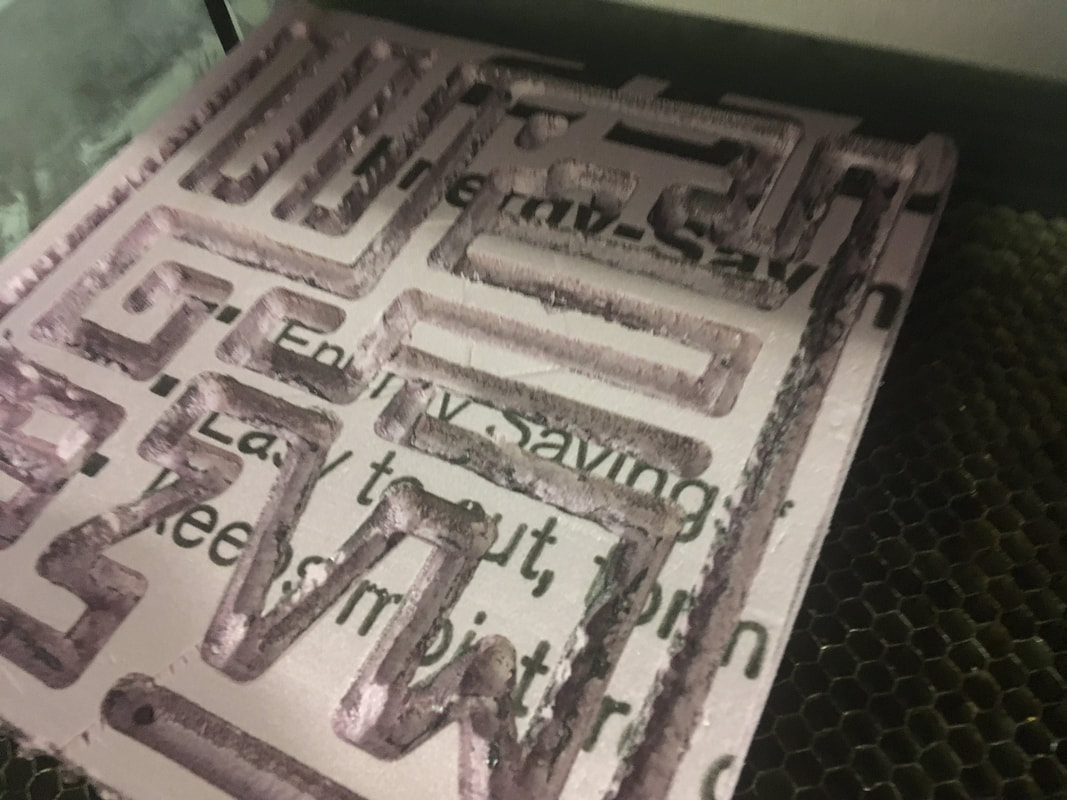
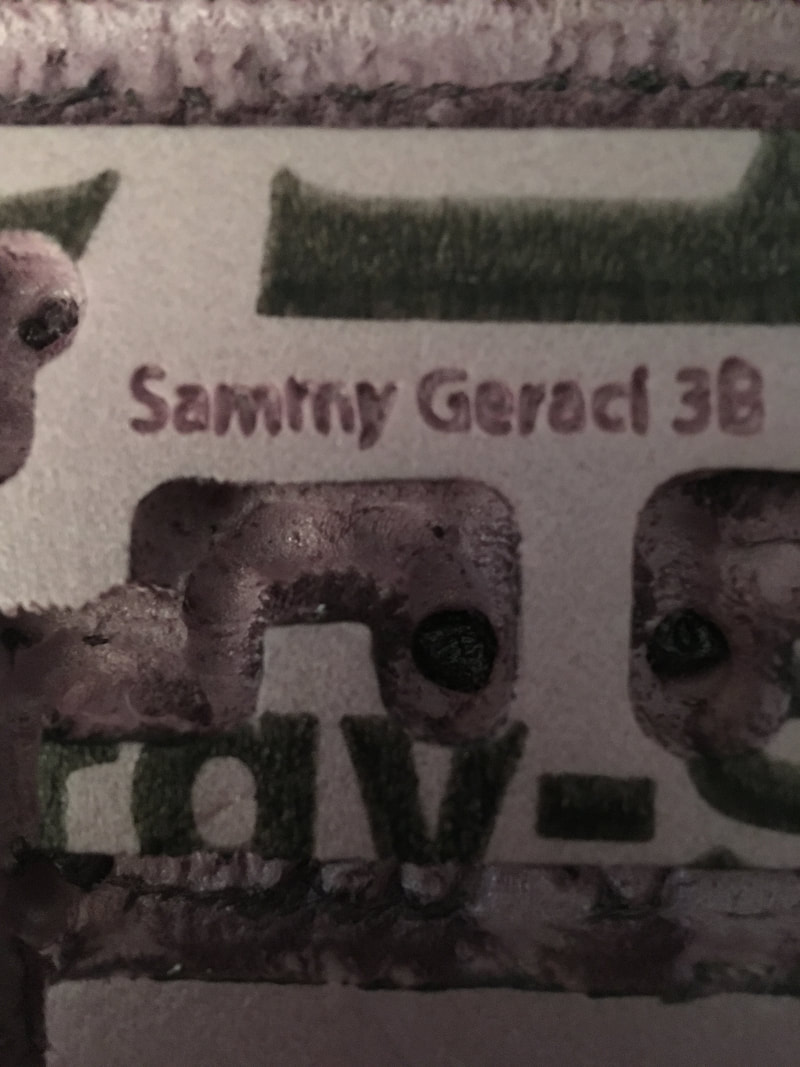
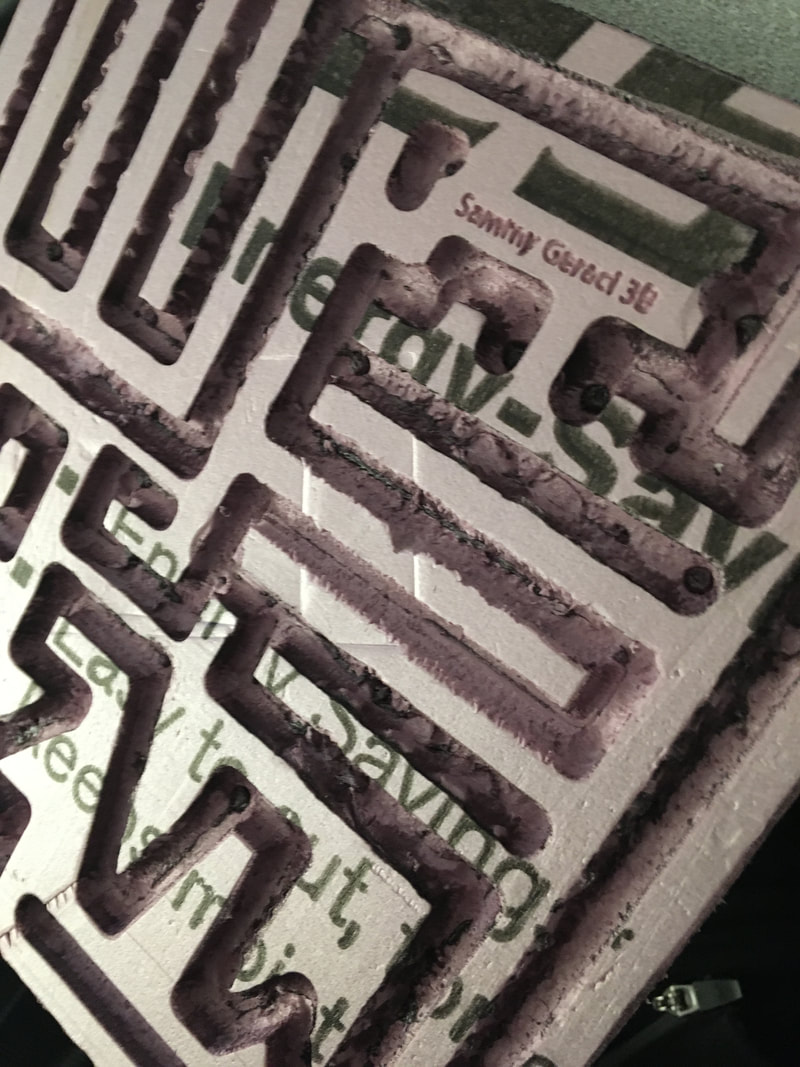
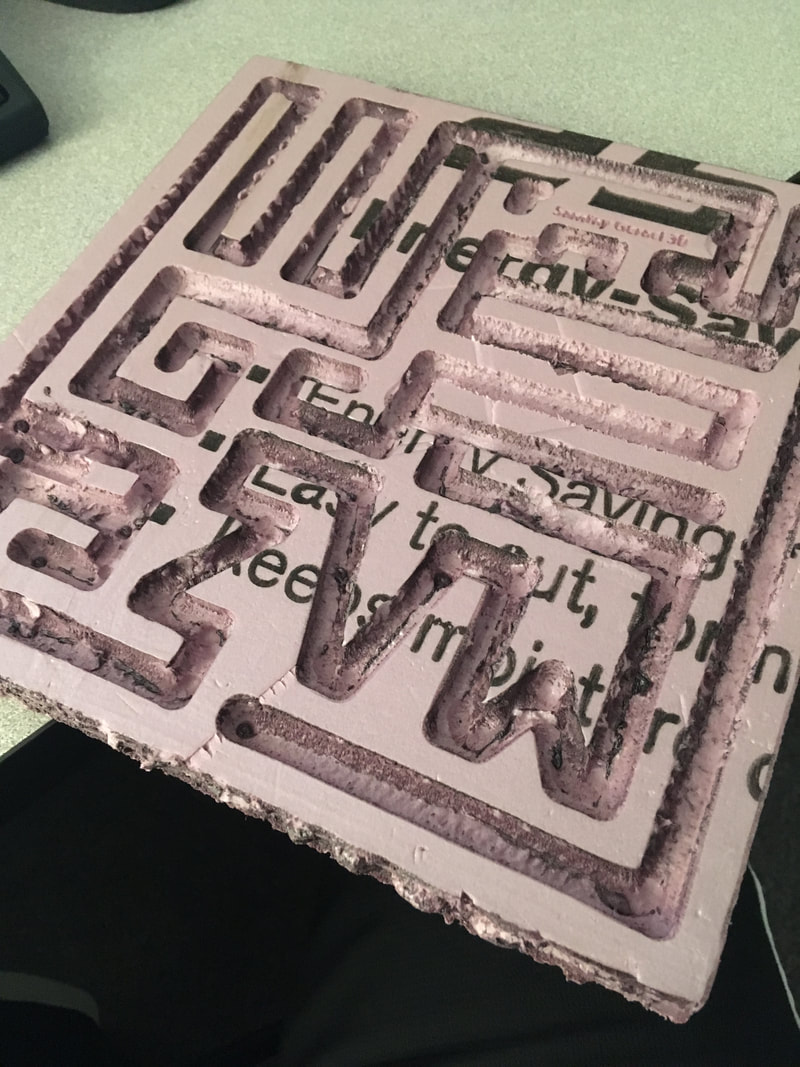
Photos Of Final Engraved Maze
Summary Paragraph Of What I Learned
In this unit, I learned a lot about Inventor, Fusion 360, and CNC Mills. In Inventor, I learned how to deal with creating complicated sketches piece by piece so the software doesn't glitch. I also learned about how to effectively utilize the dimension tool intuitively. I learned about how to set up tool paths in fusion 360 for a router and the right spindle speed, and I learned how to set up a router. Most importantly though, I learned about using the correct router bit, because the bad bit made my design look bad and burned.
