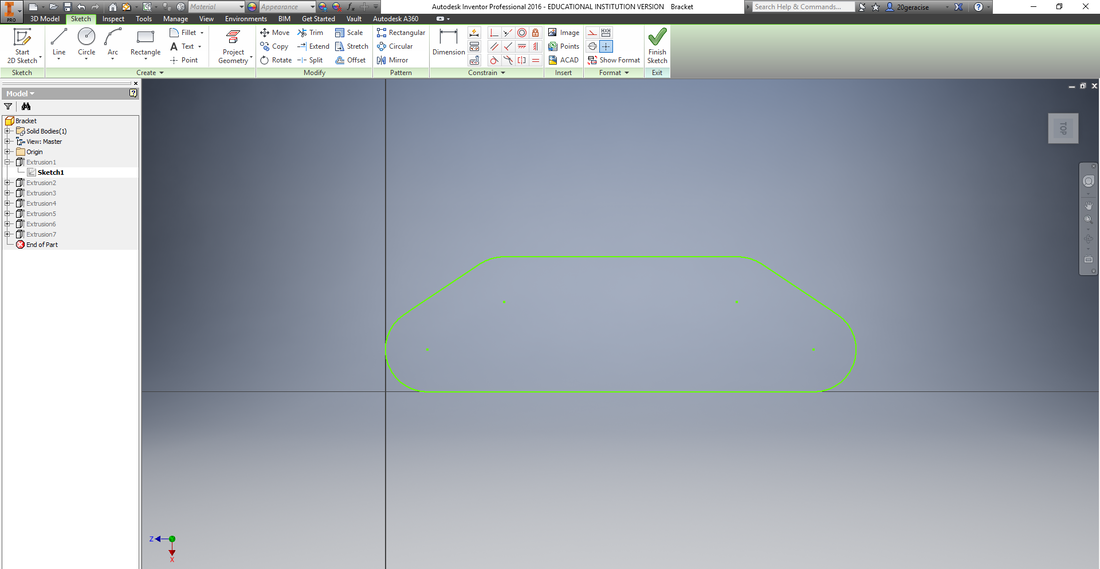
Recipe For Brake Bracket In Inventor
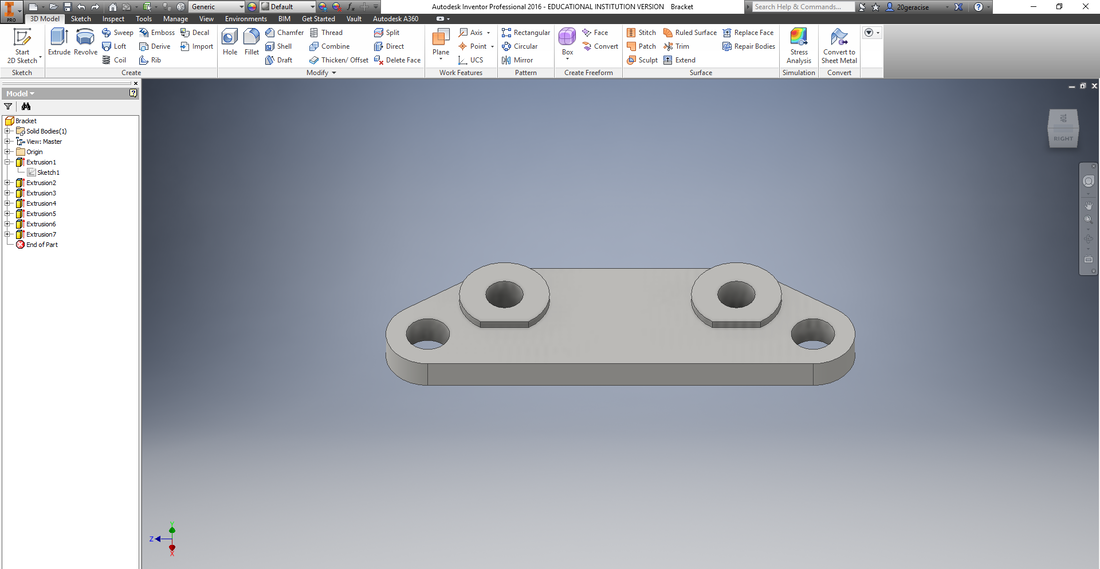
I started by creating four circles and and connected them by using tangent lines to create a perimeter around them. Then I deleted the arcs inside the perimeter and extruded the sketch to the right thickness. I drew circles on the top of the sketch and extruded them down to create the holes. Then, I started another sketch and drew circles again on the top face of the bracket. I drew a box below the circles and deleted the arcs inside the boxes. I deleted the extra edges of the boxes and extruded the sketch up.

|
|
Screenshots Showing Digital Documents

|

|
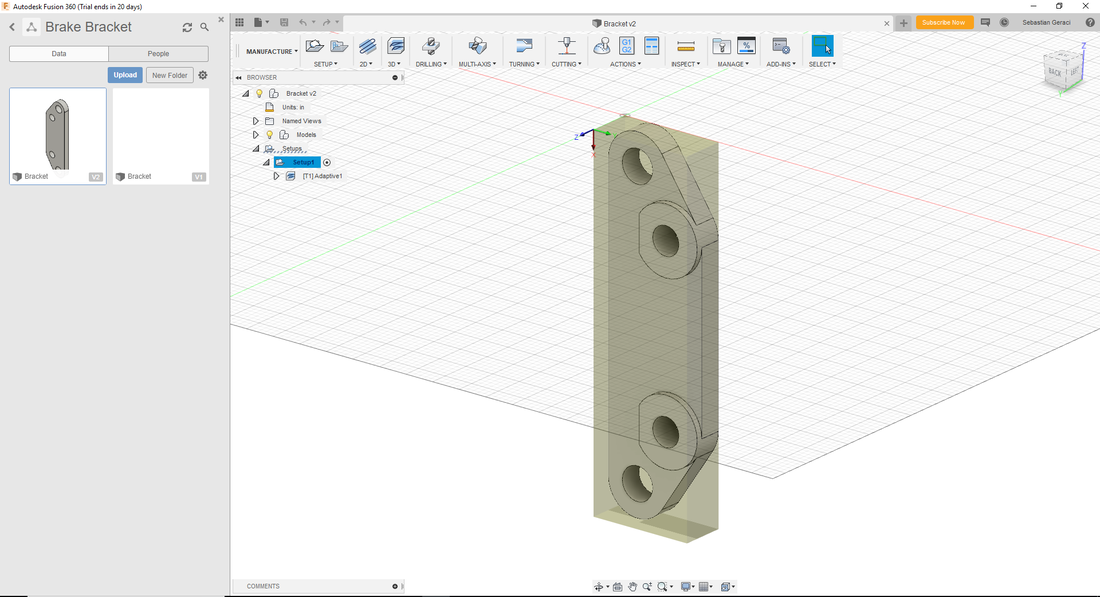
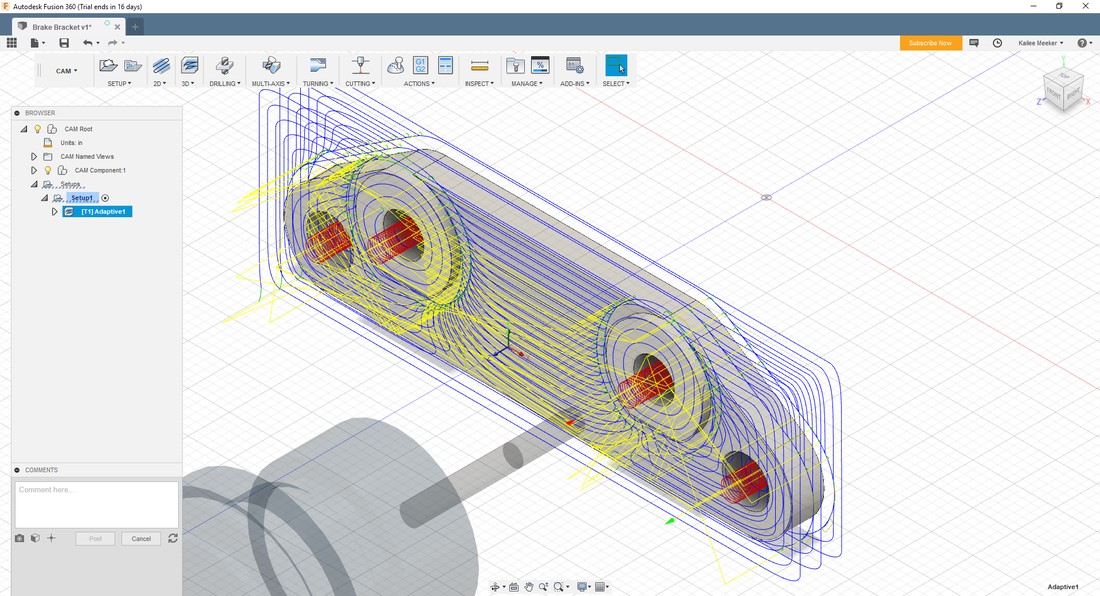
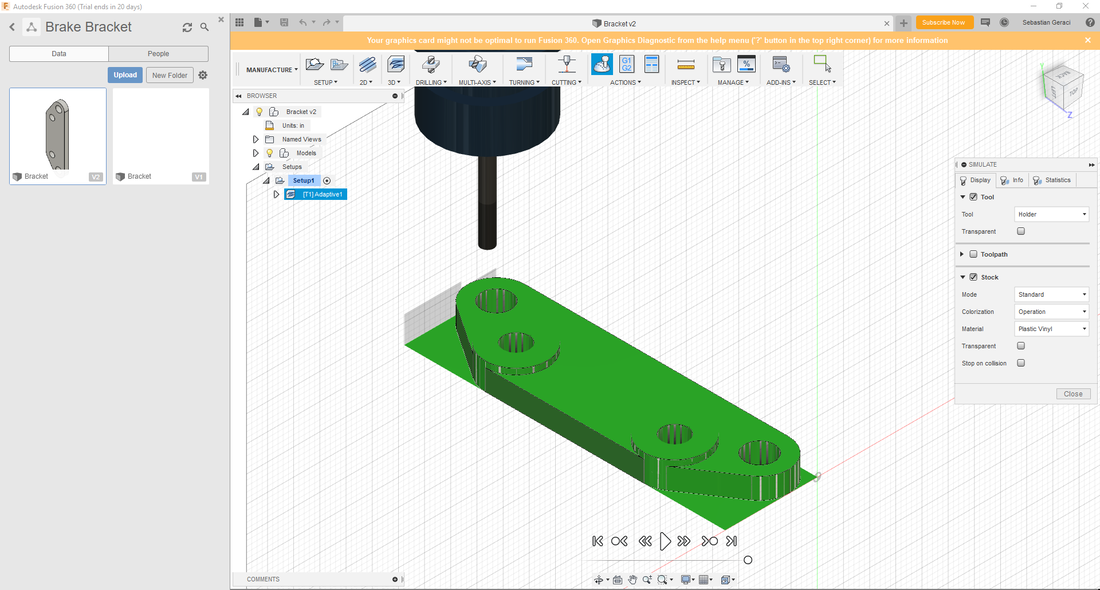
Screenshots Of Setting Up The Tool Paths In Fusion 360
|
|
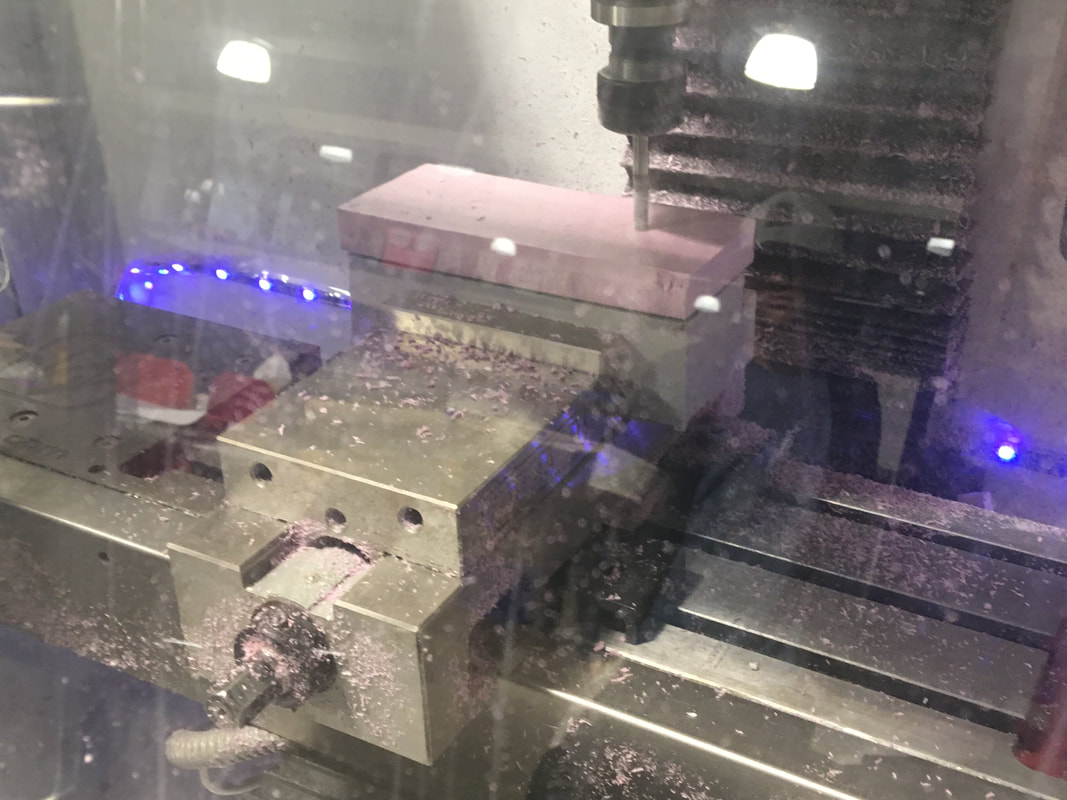
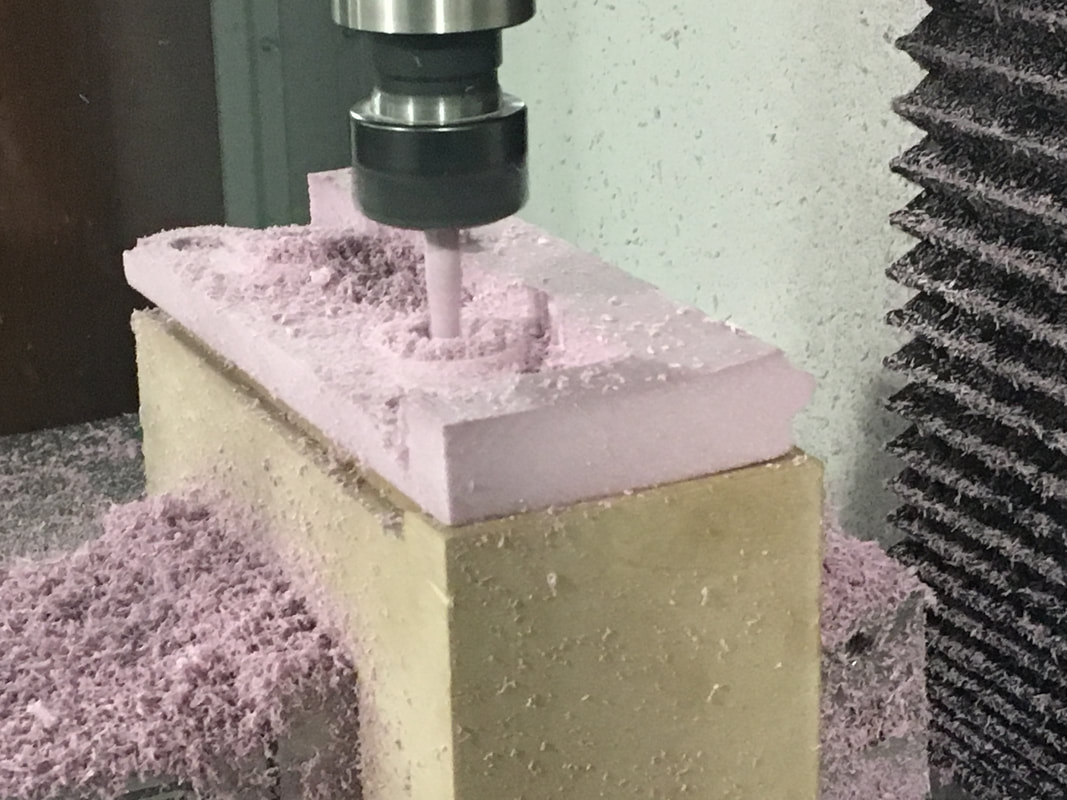
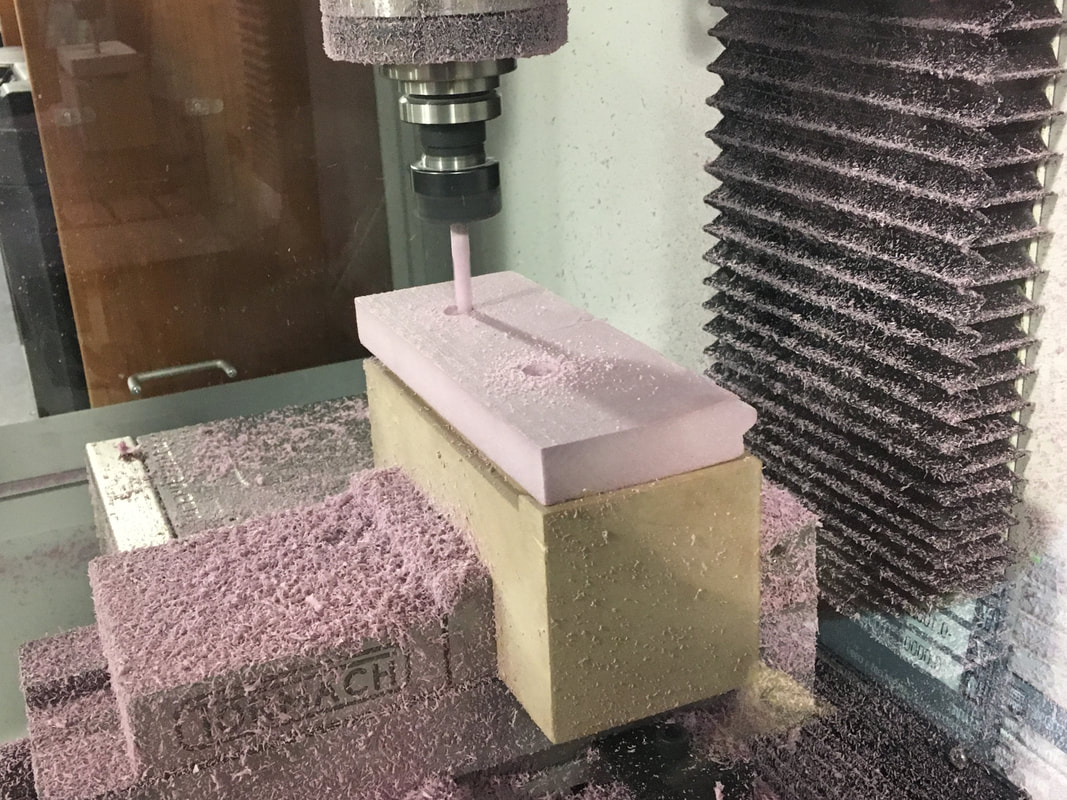
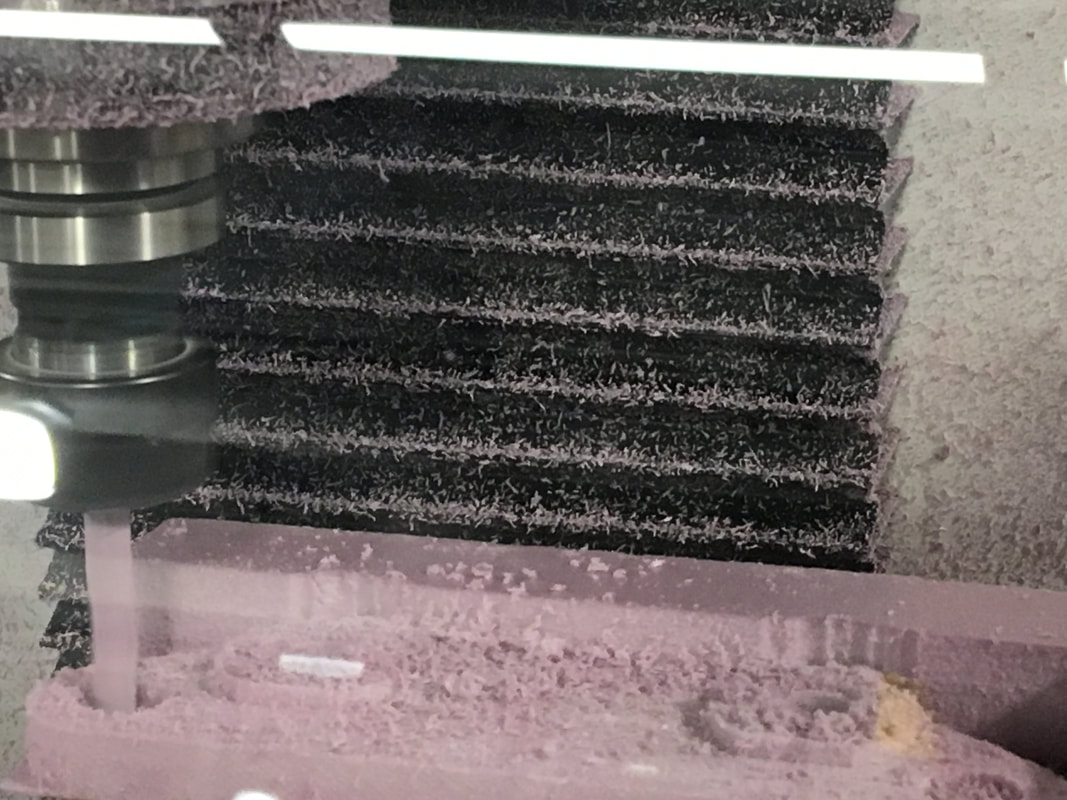
Photos of Setting Up The Mill
|
|
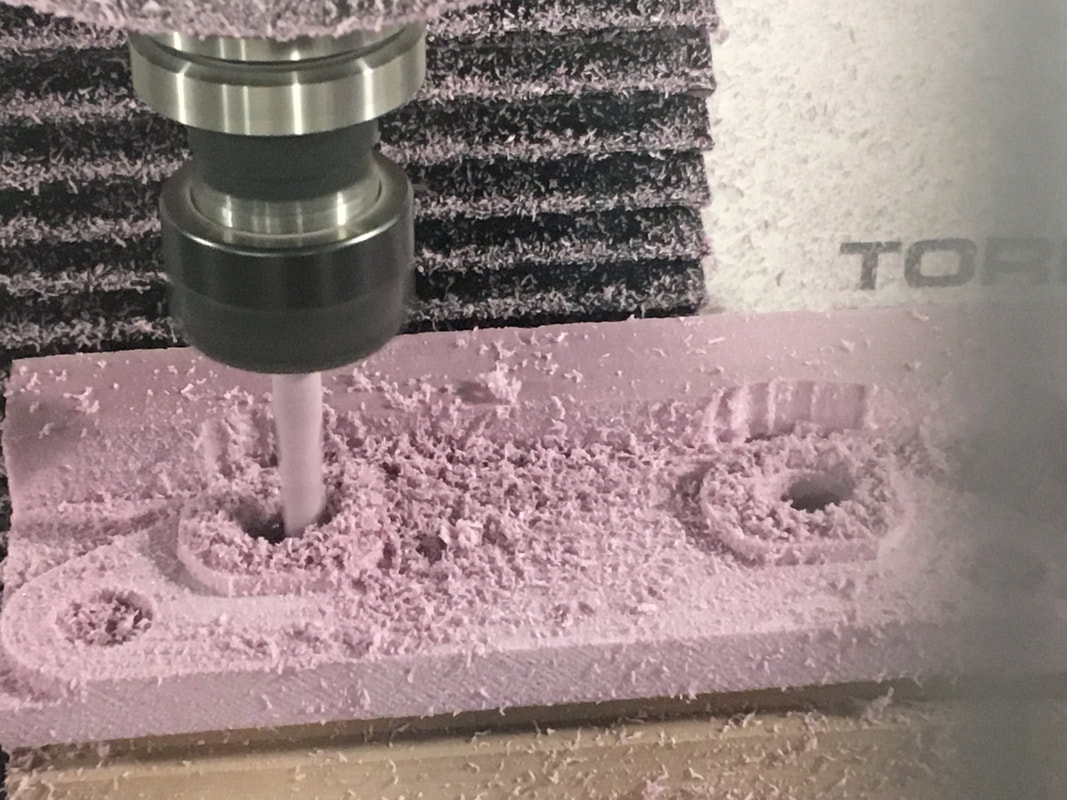
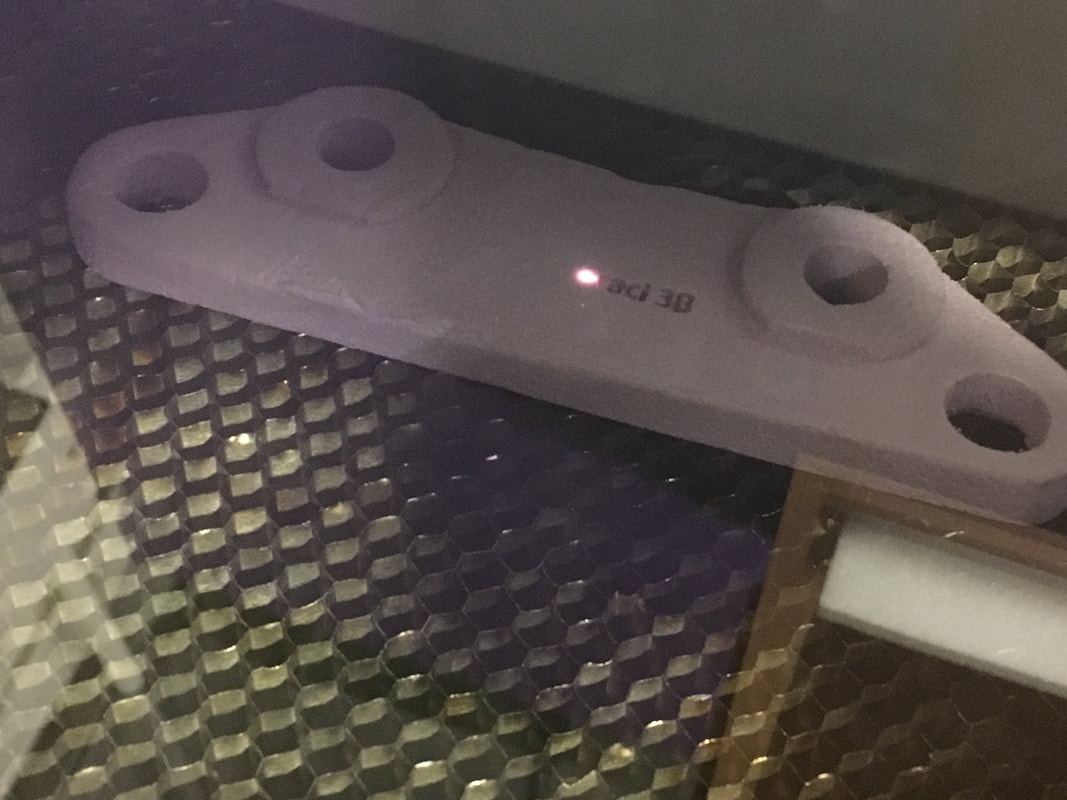
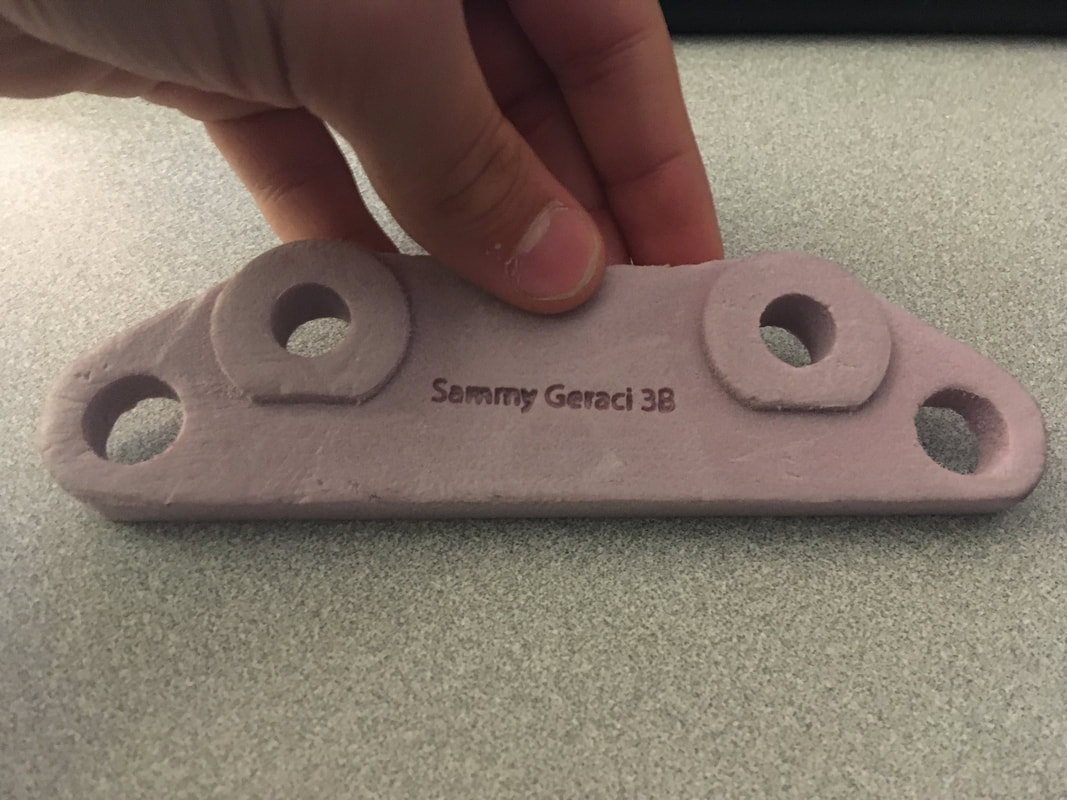
Picture Of Final Part
Summary Paragraph Of What I Learned
In this project, I learned about how to use Inventor to make parts designed by other people. I learned how to use the tangent tool to make tangent lines between circles. I also learned how to set up a tool path for thing that need to be milled in Fusion 360 and how to set up blocks in the mill, aligning the corner of the box, and zeroing the mill. Finally, I learned how to use trial and error to get the mill to work after it initially refused my G-Code.
